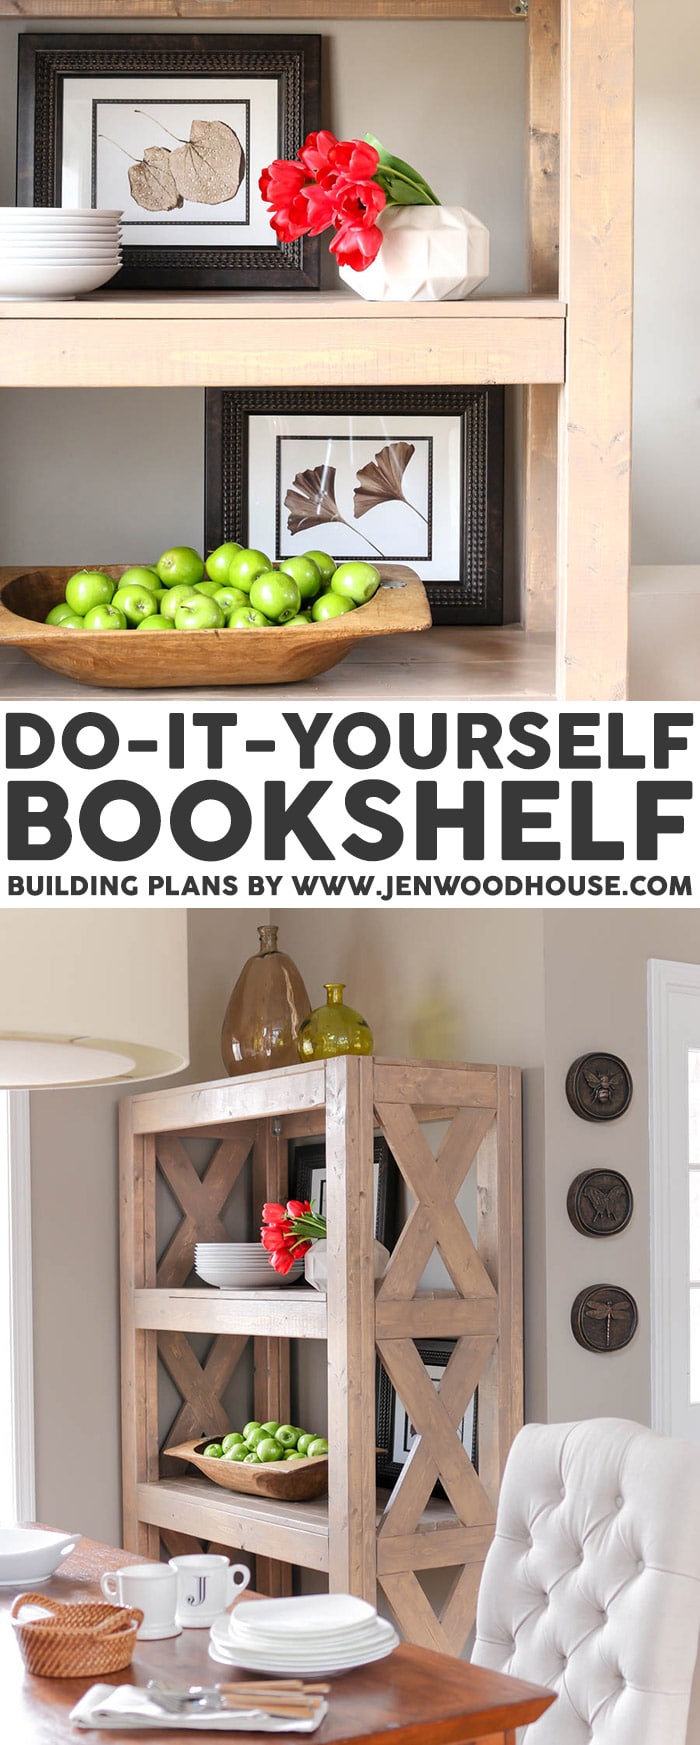
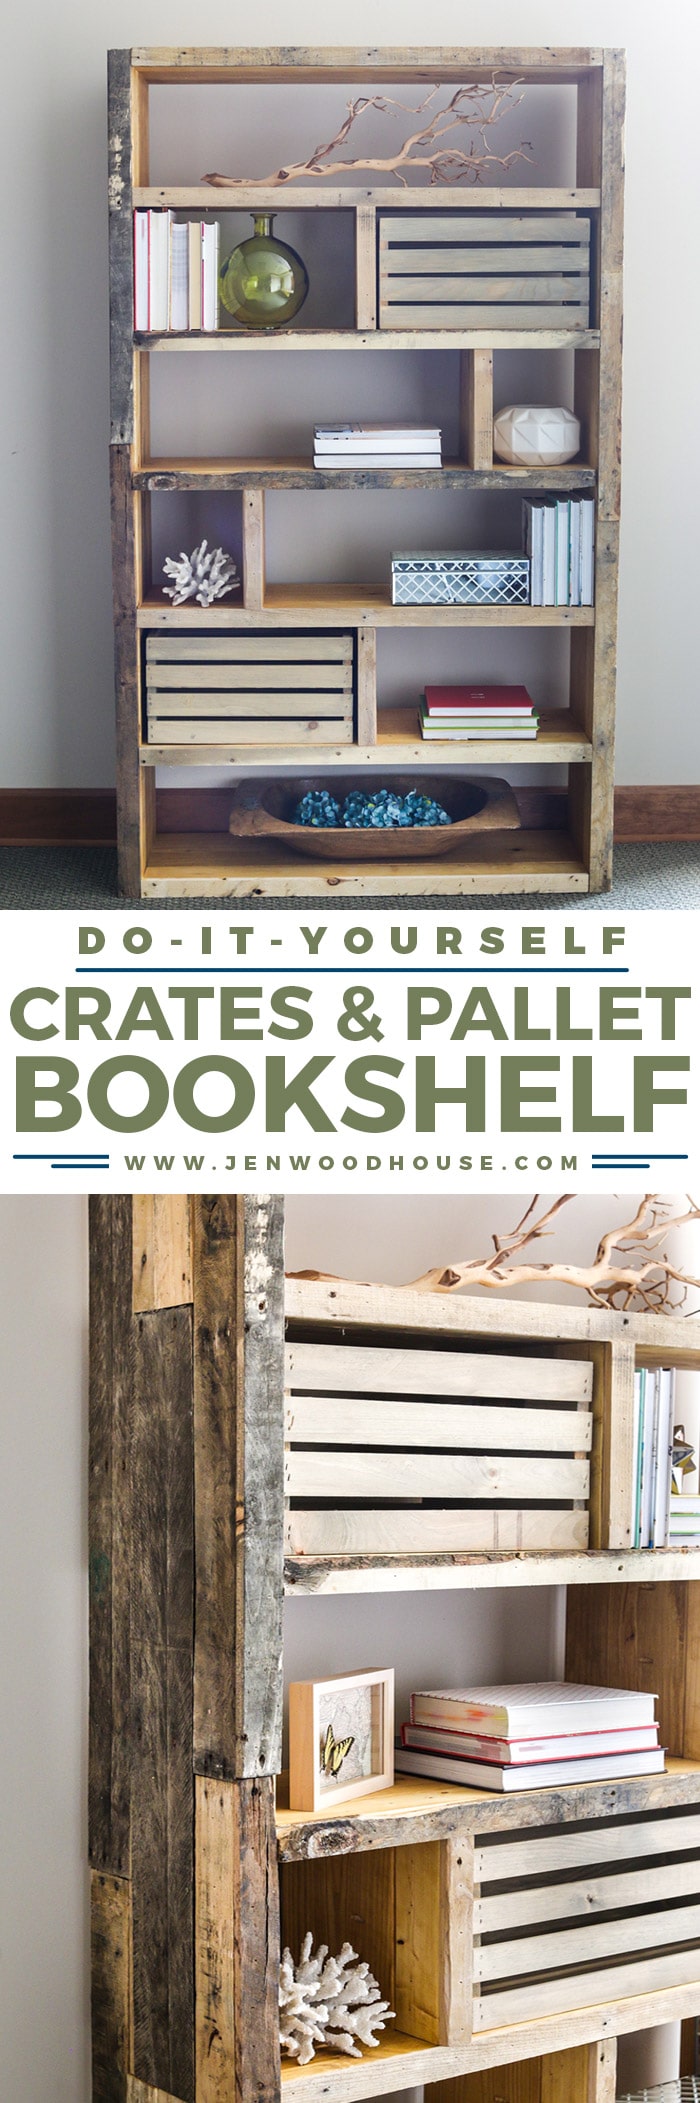
You guys. I’ve had ants in my pants doing the pee pee dance waiting for the day I could finally share the building plans and tutorial for this DIY rustic pallet bookshelf with you! Don’t look now, but I’m totally raising the roof (not literally).
![Build this beautiful and rustic bookshelf with reclaimed pallet wood and crates. Free building plans by Jen Woodhouse]()
But first, let’s celebrate with a GIVEAWAY! Enter for a chance to win a $50 Home Depot gift card – three winners will be chosen! I’ve teamed up with my blogger builder friends Jaime from That’s My Letter and Corey from Sawdust 2 Stitches and the kind folks at Crates & Pallet to bring you this giveaway! You guys have got to see Jaime’s cute and clever Poolside Storage Unit and Corey’s beautiful Pottery Barn-Inspired Crate Dresser. This giveaway is open to US residents and will end July 21st. Enter via the Rafflecopter widget below (refresh the page if you don’t see the widget). Good luck!
a Rafflecopter giveaway
Okay, so back to this bookshelf. I designed the bookshelf to accommodate Crates & Pallet’s pre-made Large and Extra Large crates. And did you know you can order reclaimed pallets from them too? They’re heat-treated and sterilized and are available either fully constructed or broken down. For this project, I ordered about 4 bundles of reclaimed pallet parts.
![DIY Rustic Bookshelf with Pallets and Crates]()
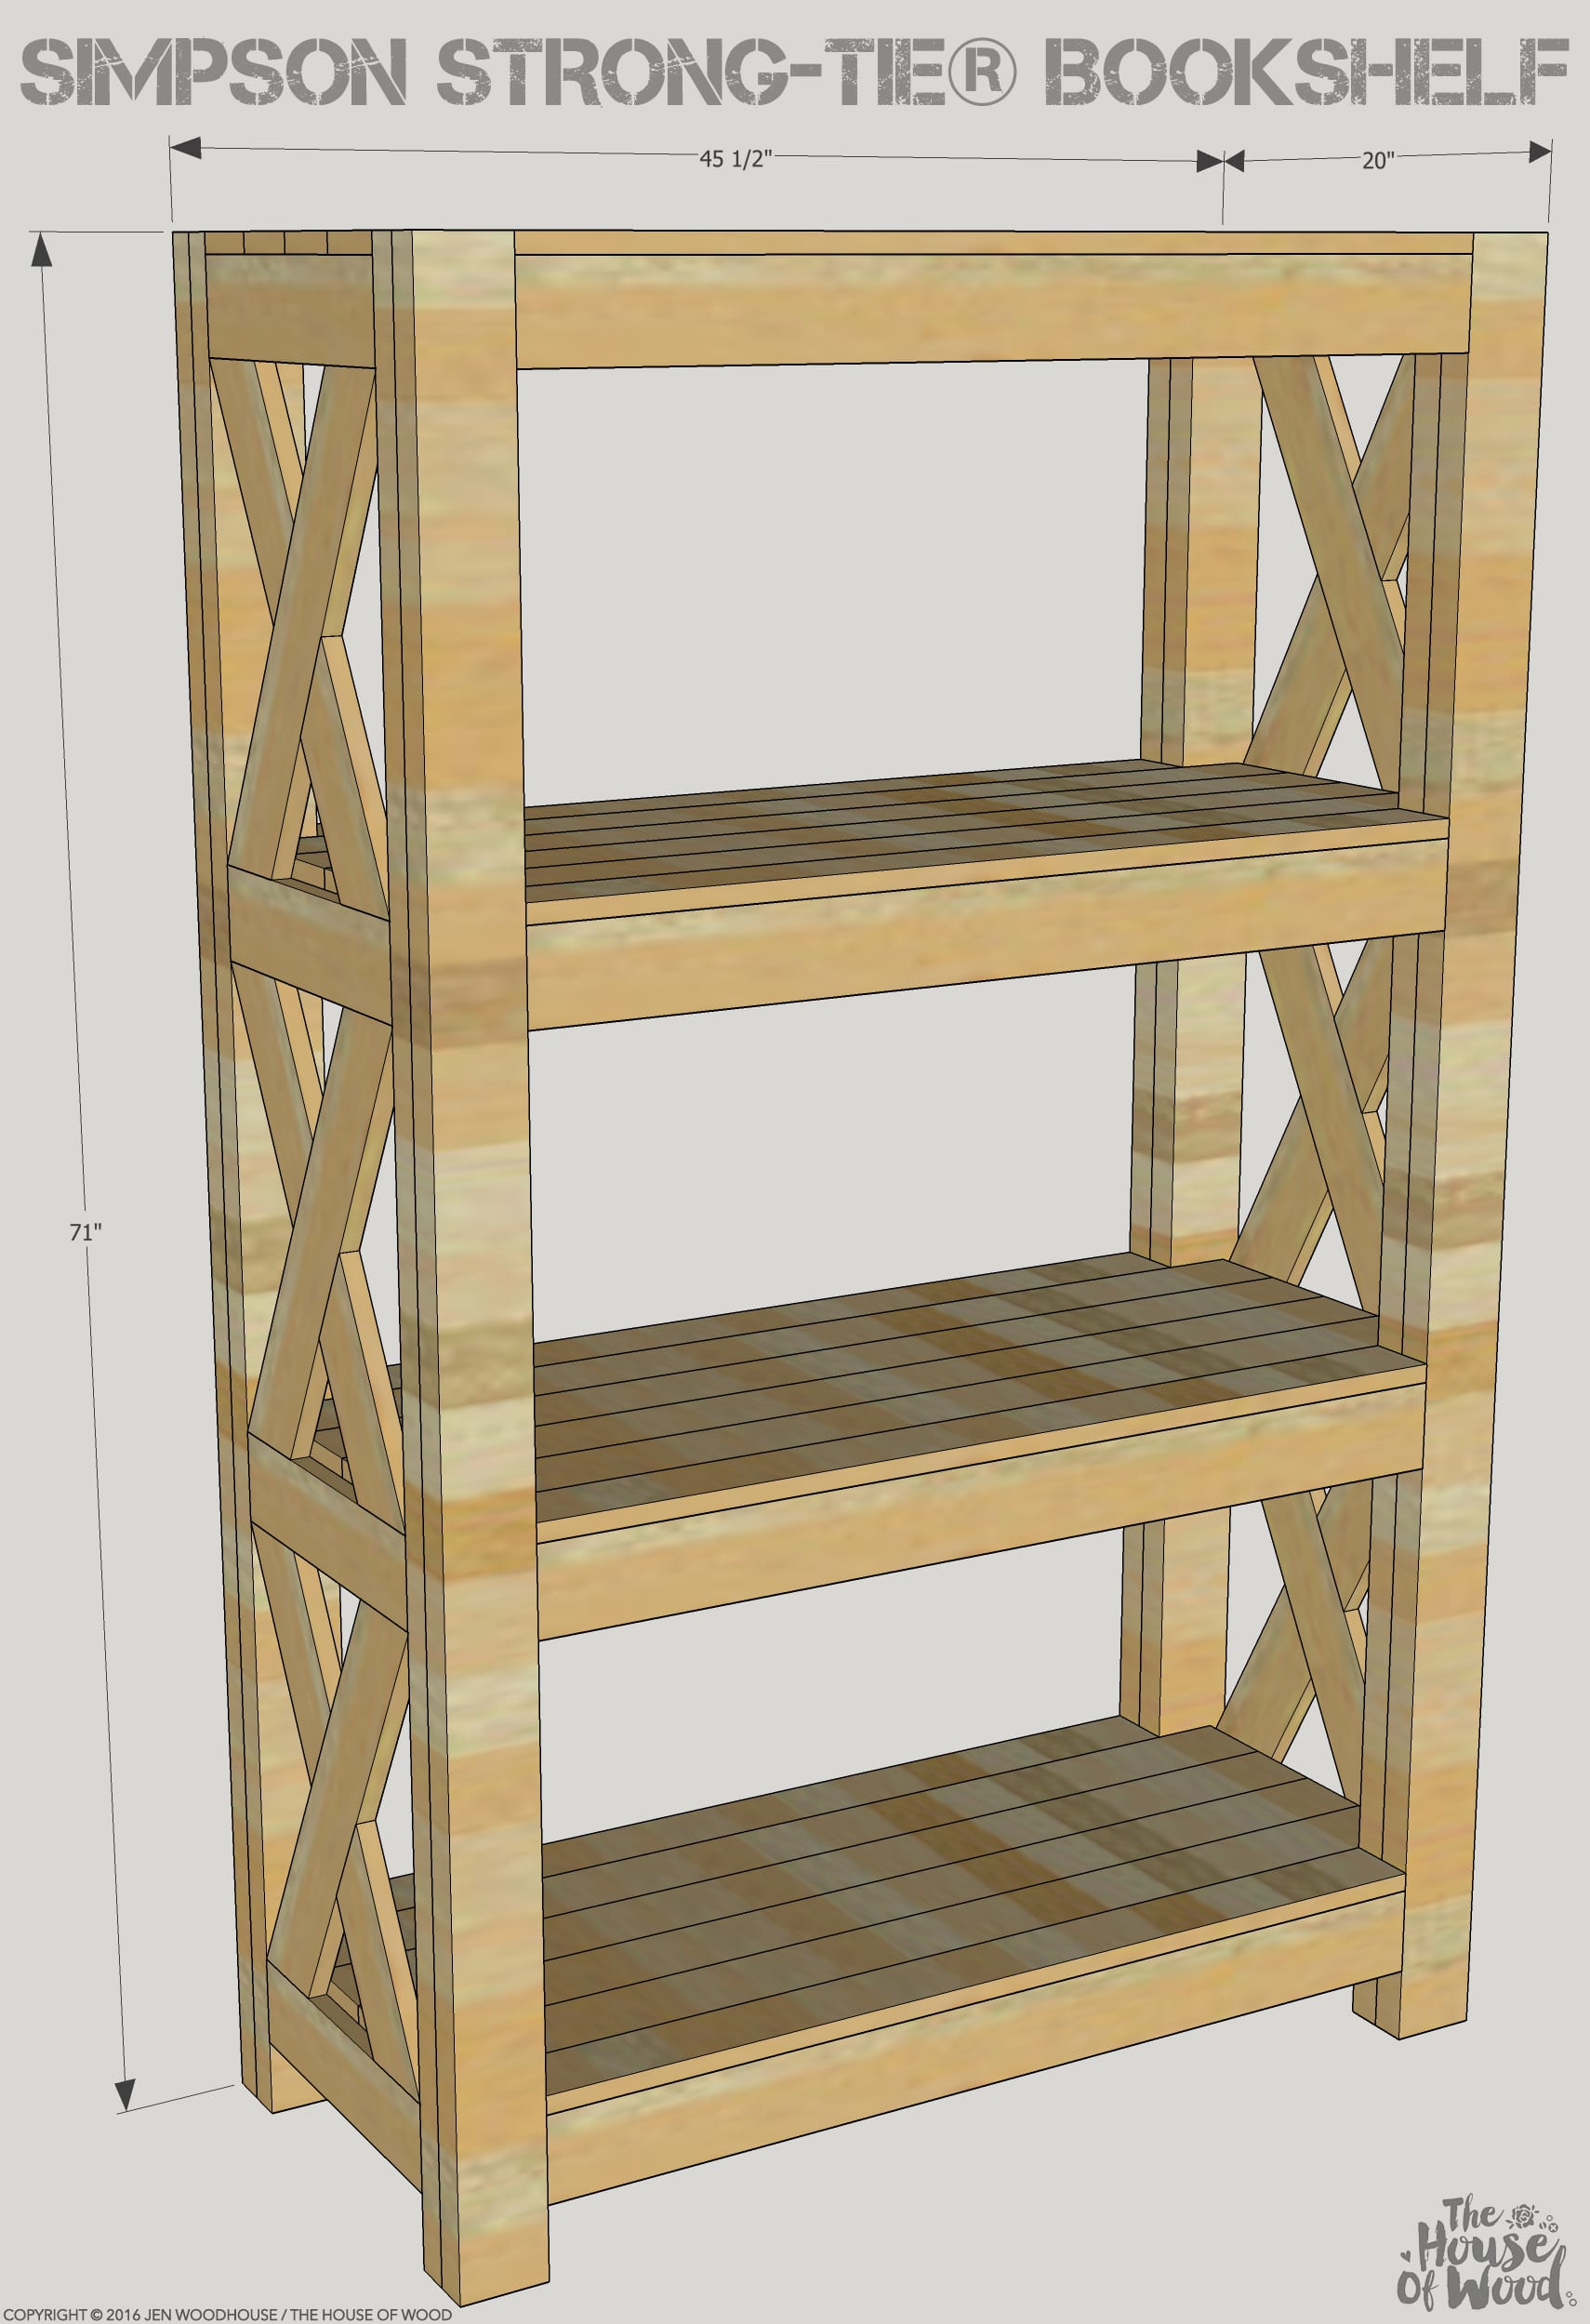
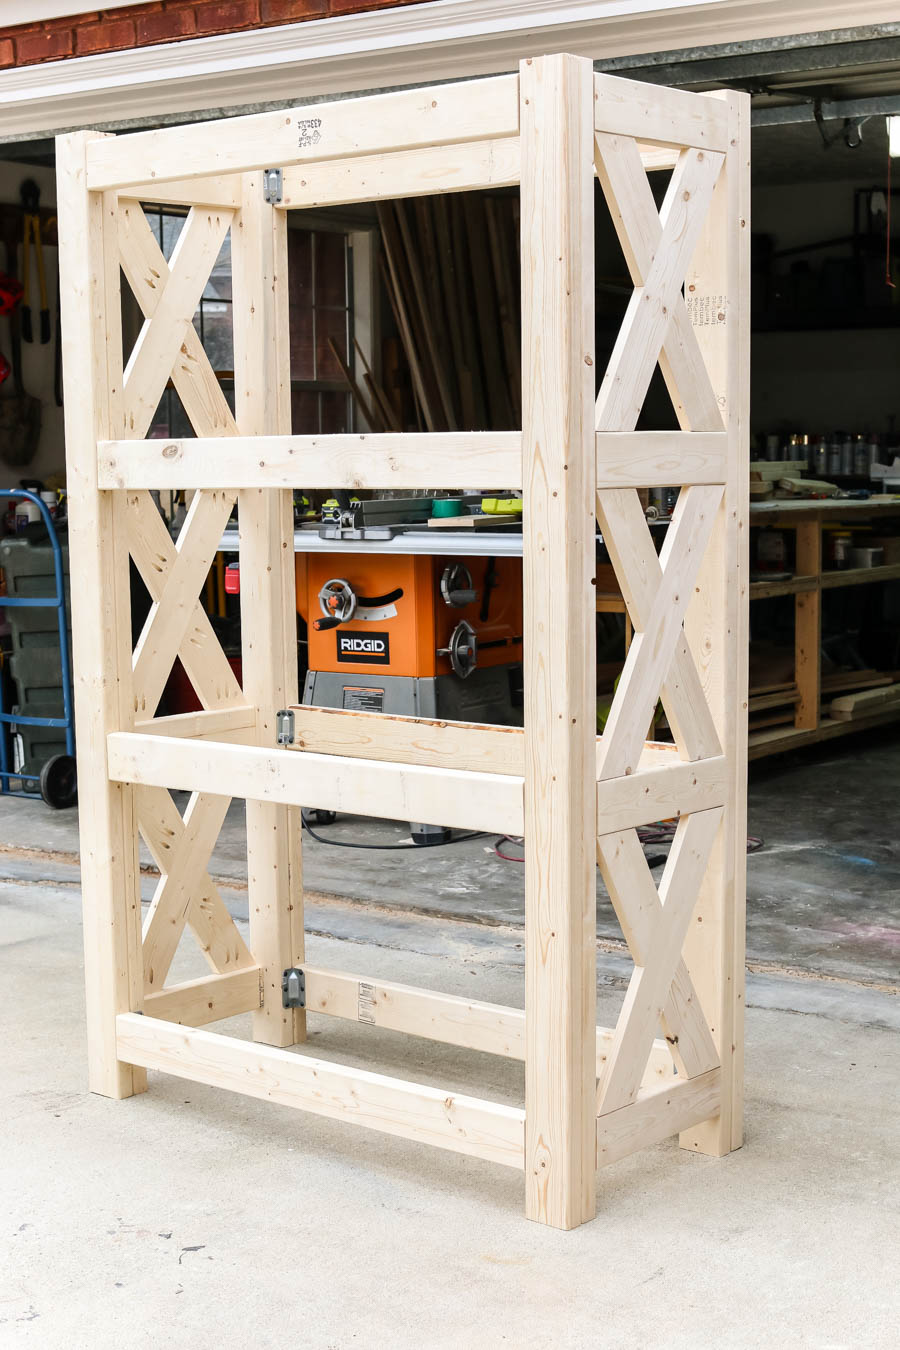
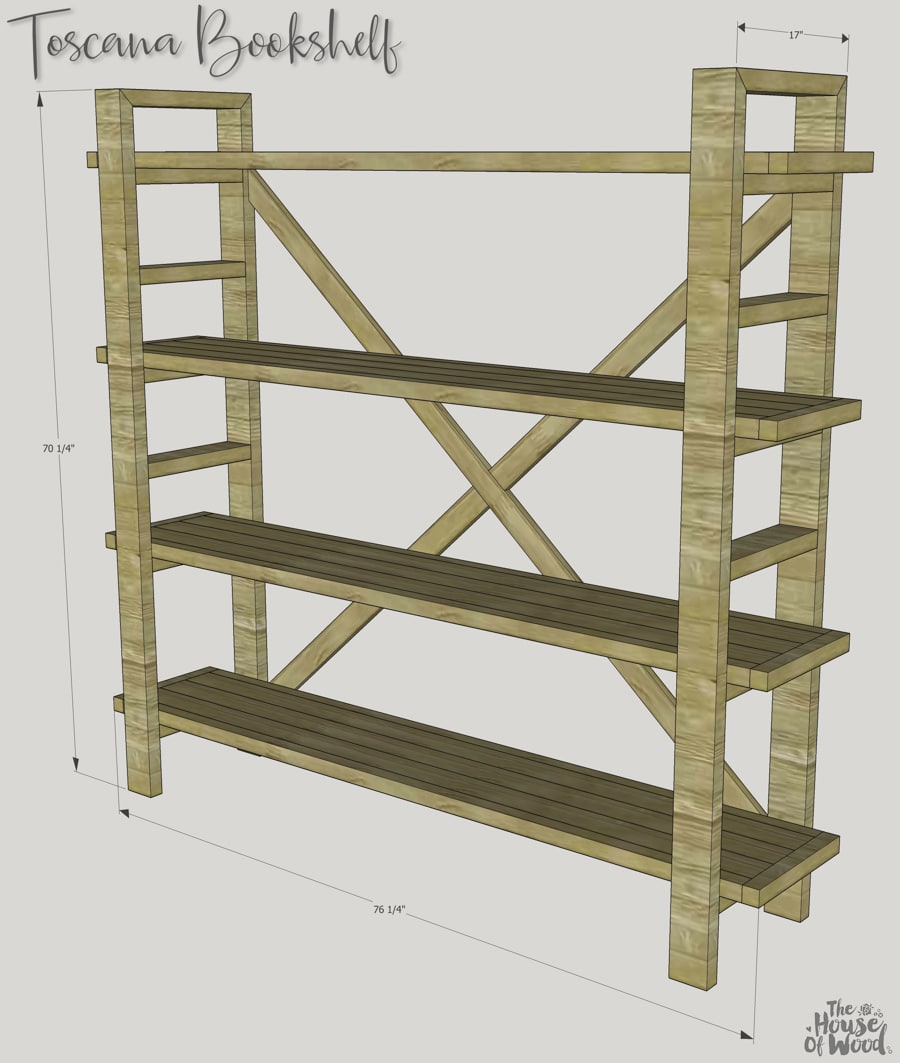
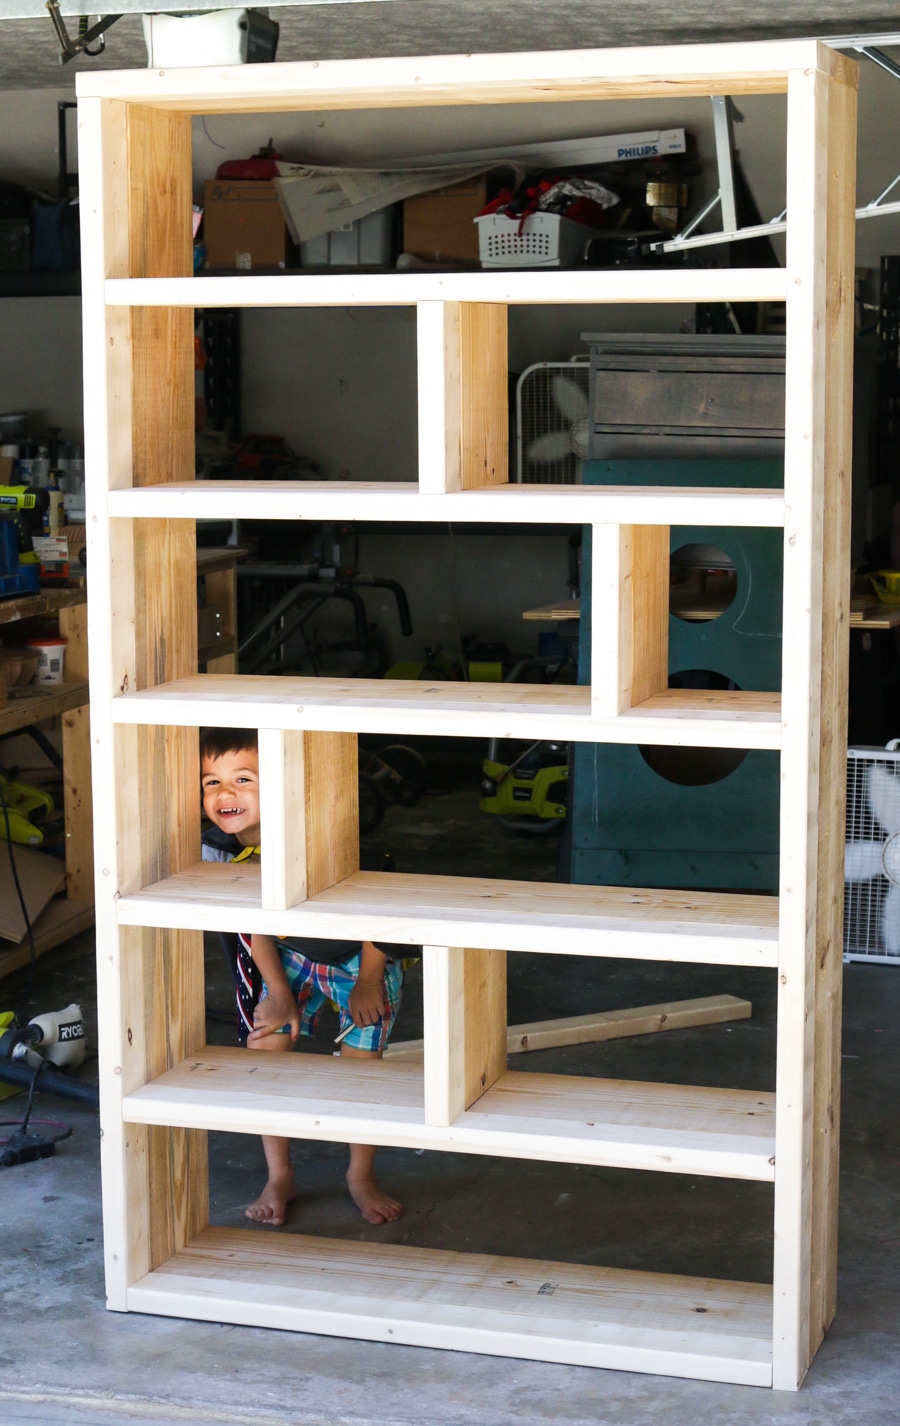
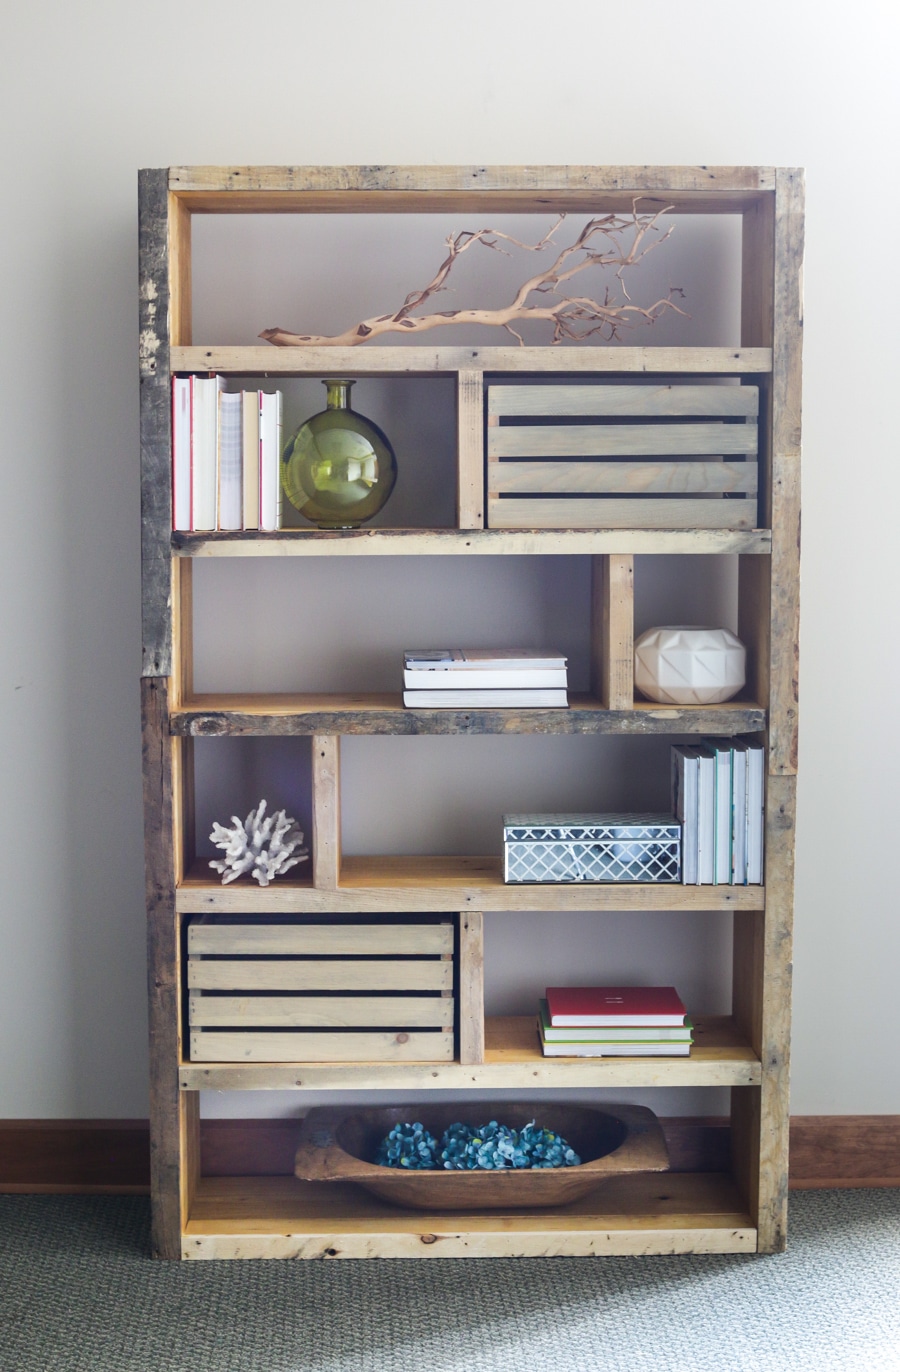
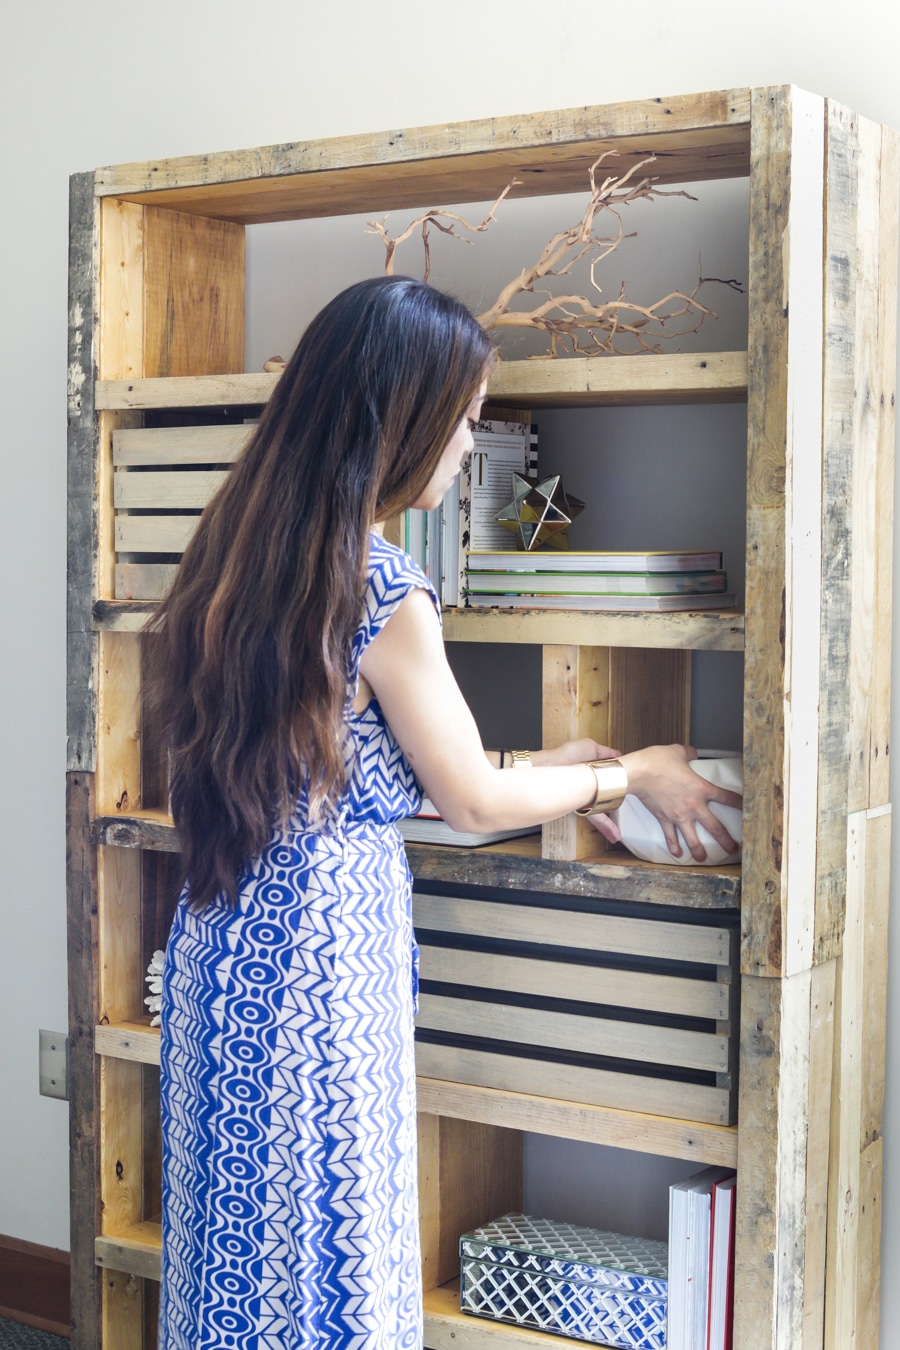
I used 2x10s and 2x4s for the construction of this bookshelf, then used the pallet wood to ‘wrap’ the bookshelf to get that reclaimed, rustic look. Dude. This thing is solid and sturdy. I’d recommend anchoring it to the wall because you do not want this beast toppling over on you.
Alright. So let’s get building!
TOOLS:
MATERIALS:
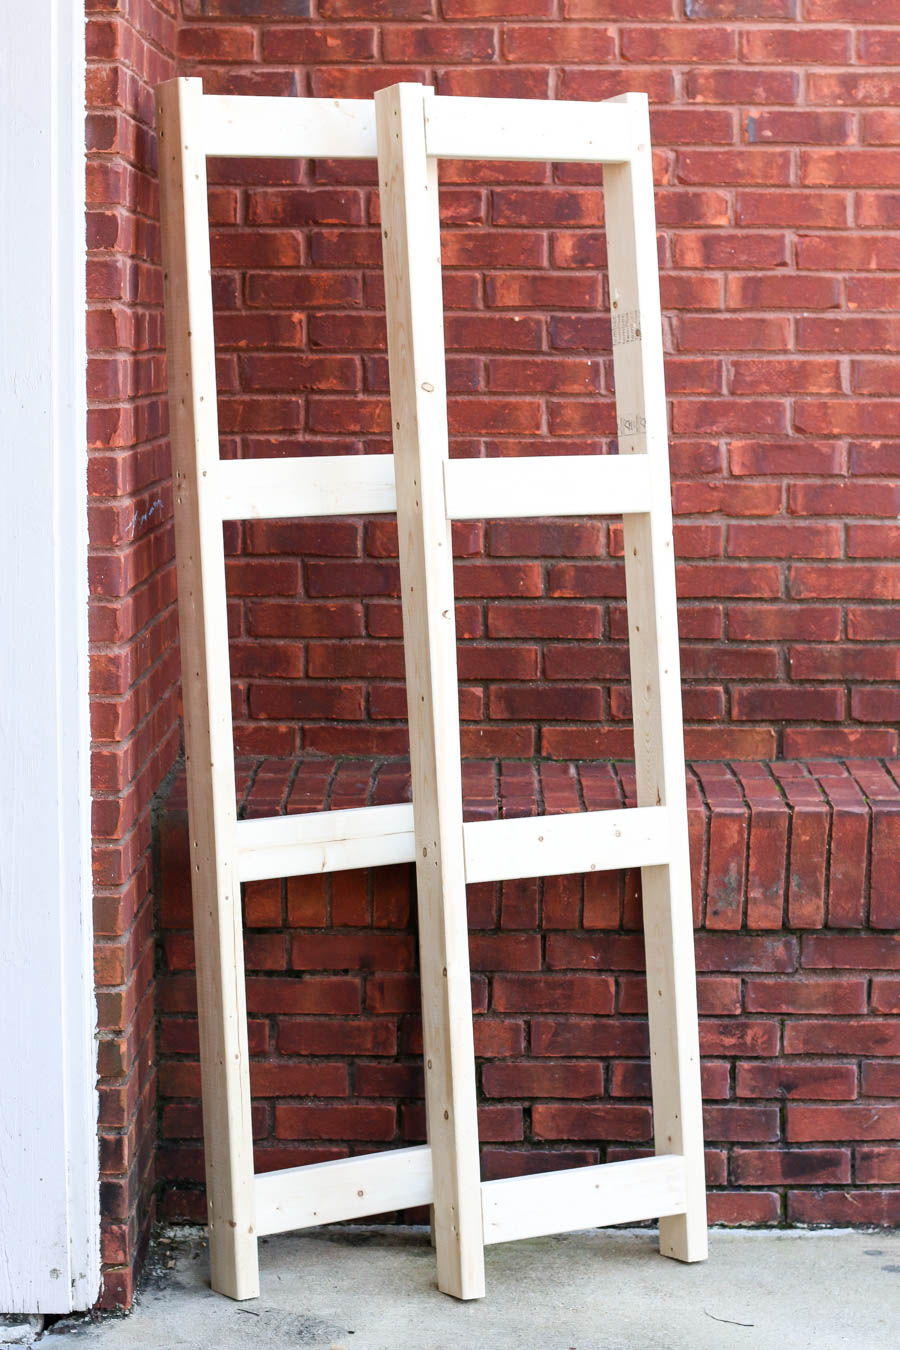
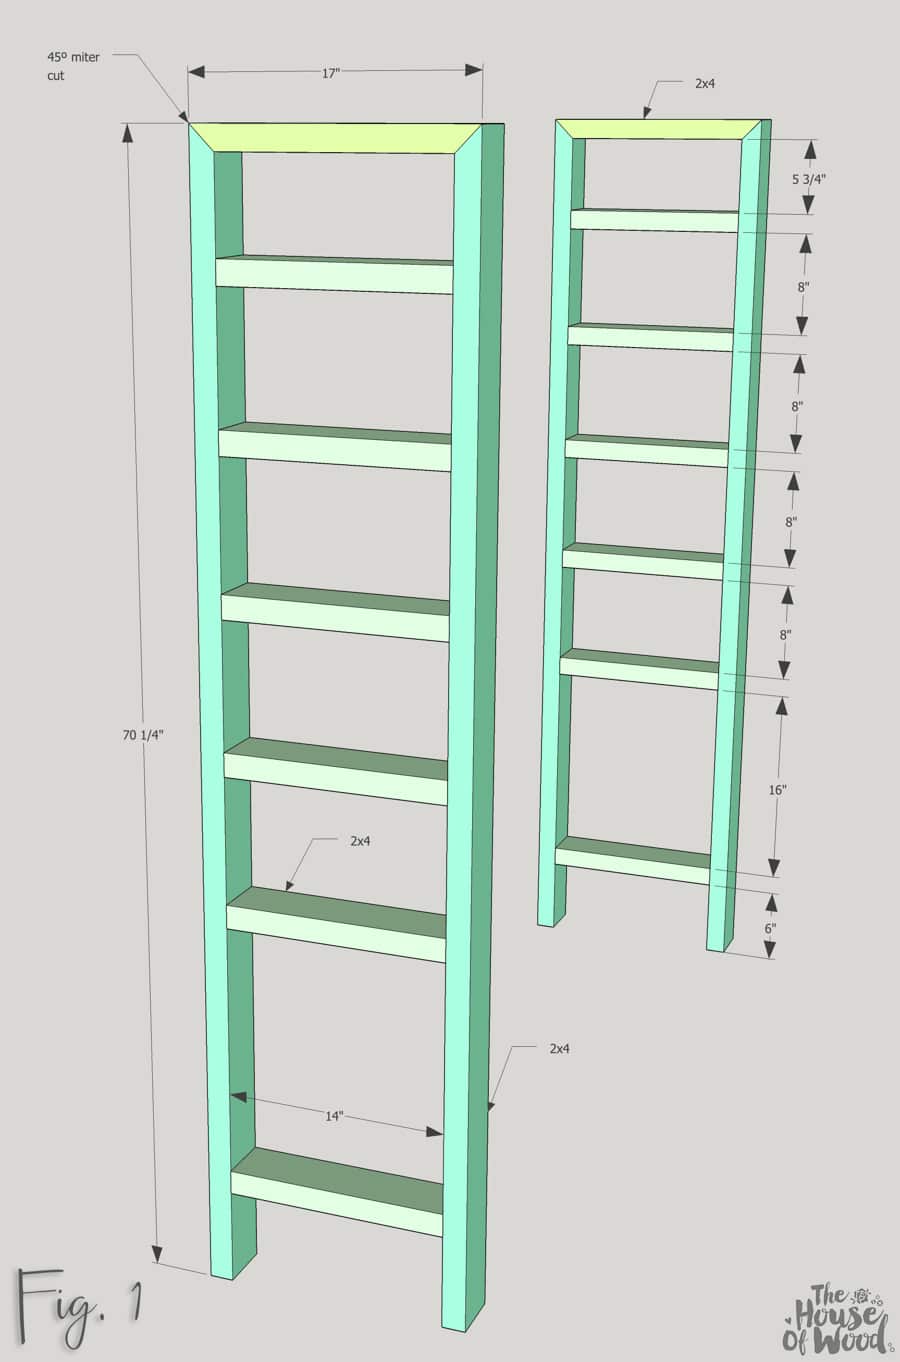
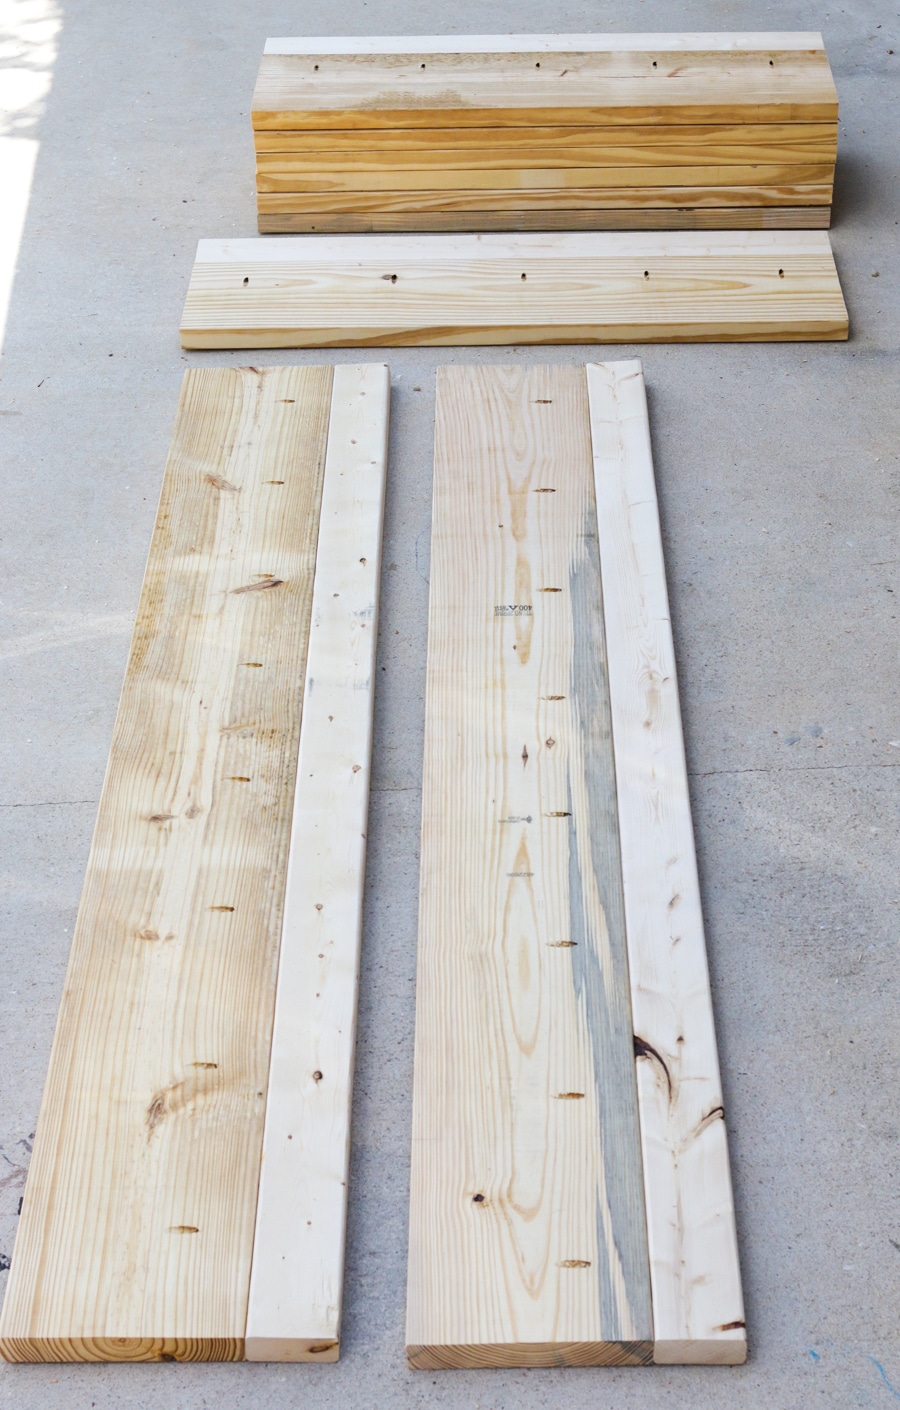
After cutting all of my boards, I joined the 2x10s and 2x4s with pocket hole joinery. Here are the sides and shelves:
![How to build a DIY rustic bookshelf with pallet wood and crates]()
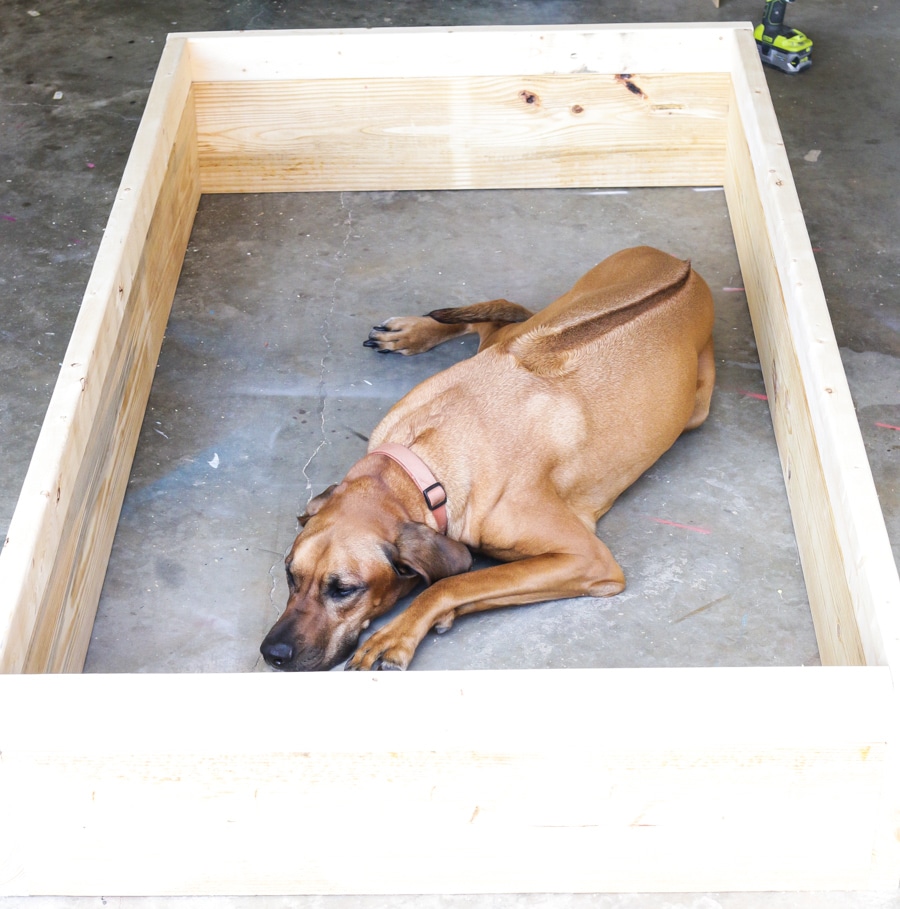
Next, you just build the box. Watson loves to be in the middle of everything. #shopdog
![How to build a DIY Rustic Bookshelf - step one: Build the box]()
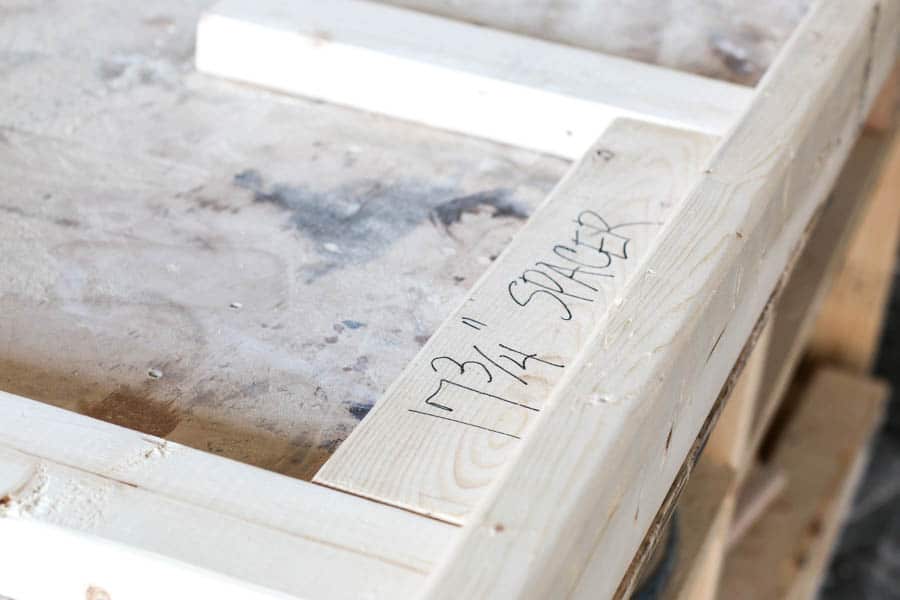
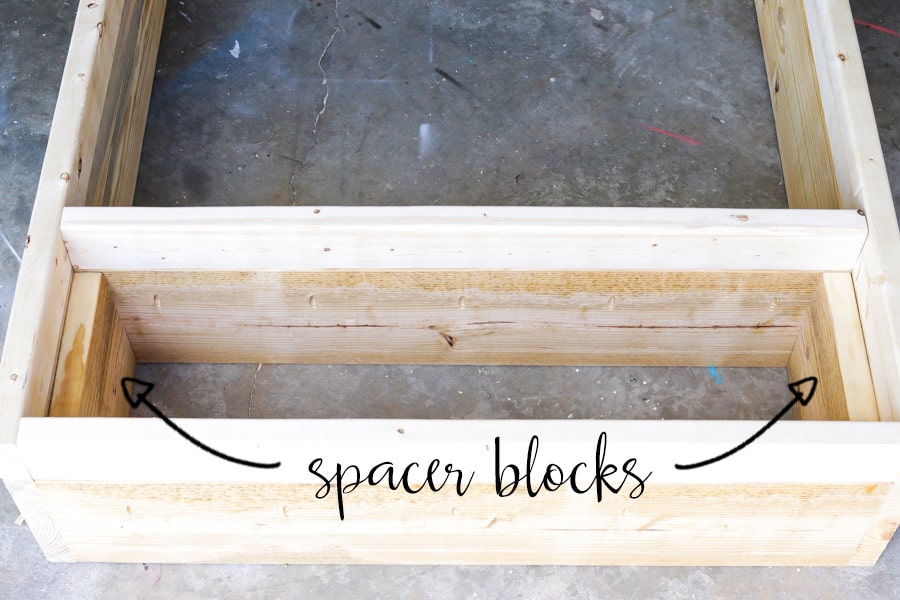
To make building easier and more efficient, I cut scrap pieces of wood to serve as spacers so that the shelves were evenly spaced and level.
![How to build a rustic DIY bookshelf with reclaimed pallet wood]()
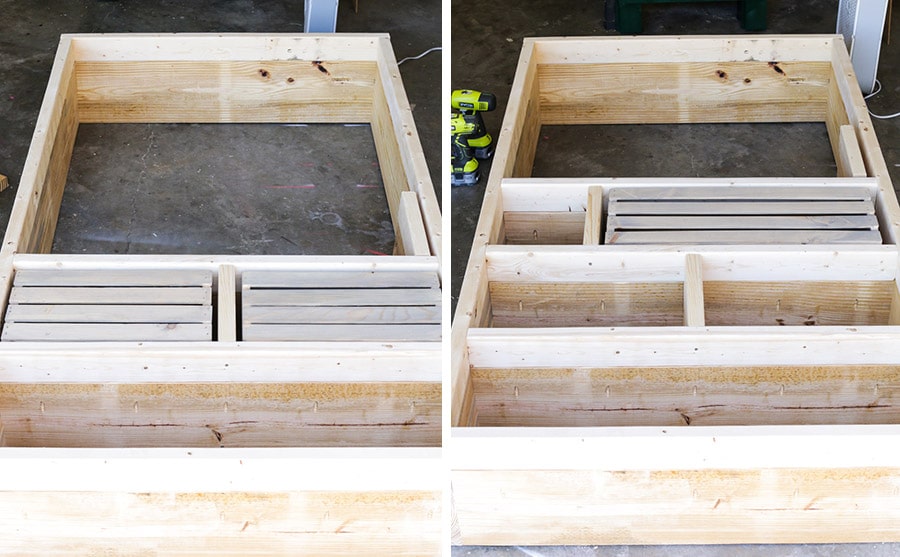
Then I periodically dry-fitted the crates to make sure they fit nicely.
![How to build a pallet bookshelf with crates]()
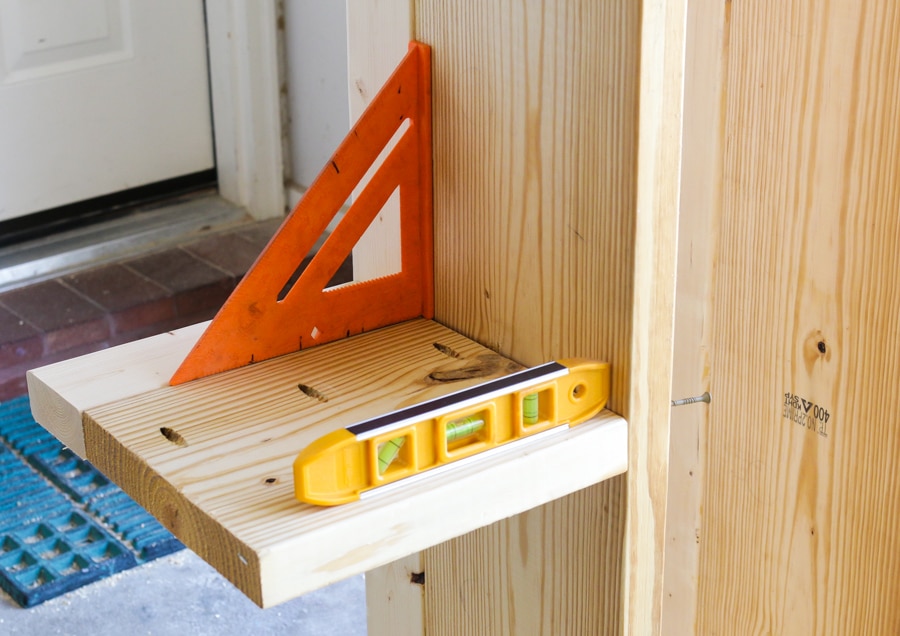
I used a square and a level to make sure the shelf dividers were… well, square and level. Duh.
![Squaring up the bookshelf dividers]()
Now that the ‘skeleton’ is built, we can dress it up with some reclaimed pallet wood.
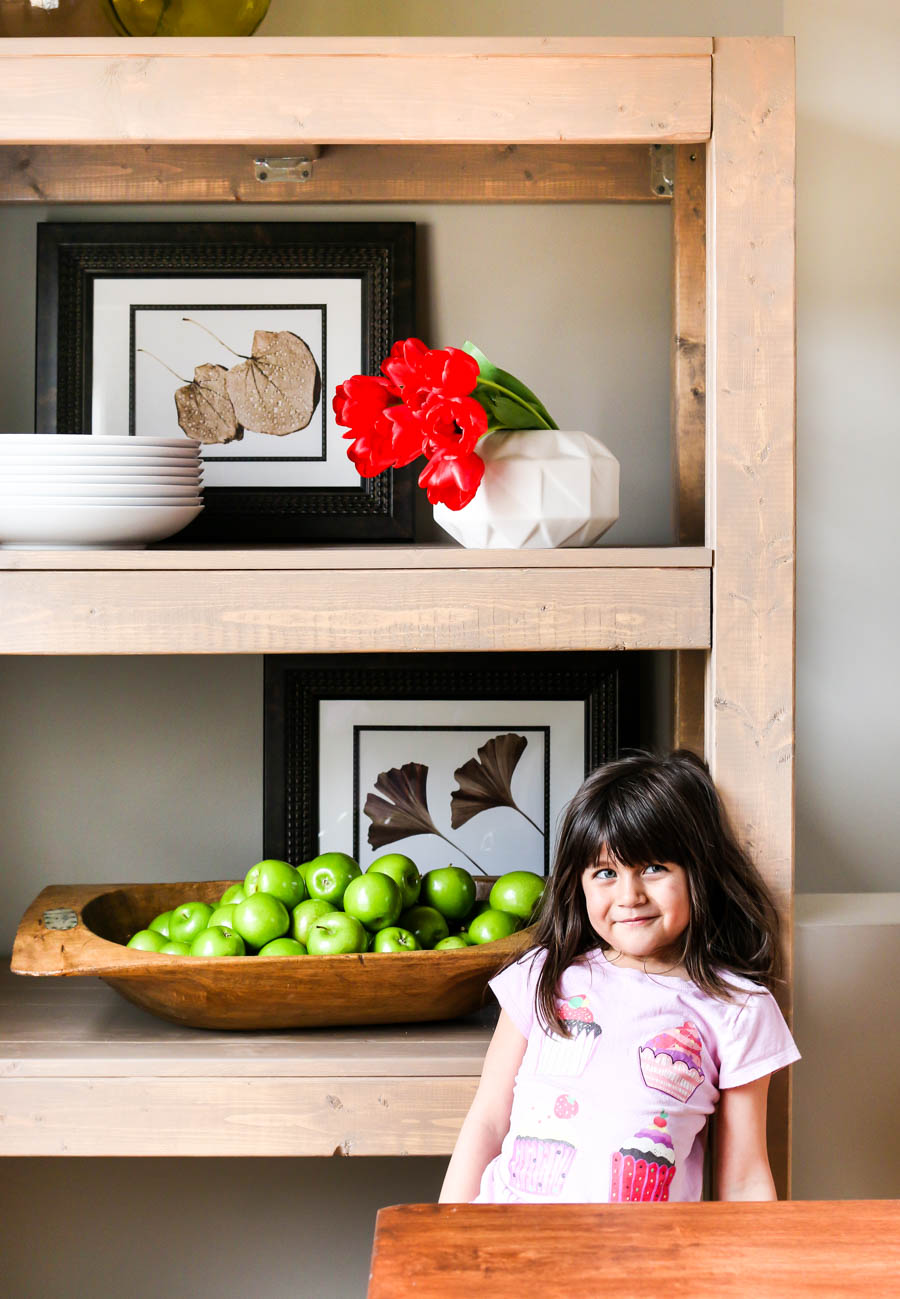
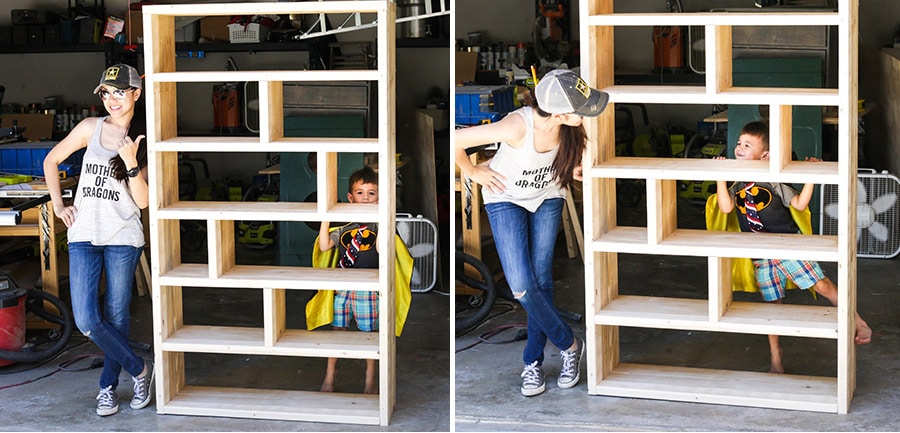
By the way, is this kid not the most adorable photo-bomber ever? What a stinker.
![Tutorial and free plans on how to build a DIY rustic bookshelf with crates and reclaimed pallets]()
And I would like to call your attention to my son’s Batman cape and necktie. Because superheroes must also be gentlemen.
![How to build a crates and pallet bookshelf]()
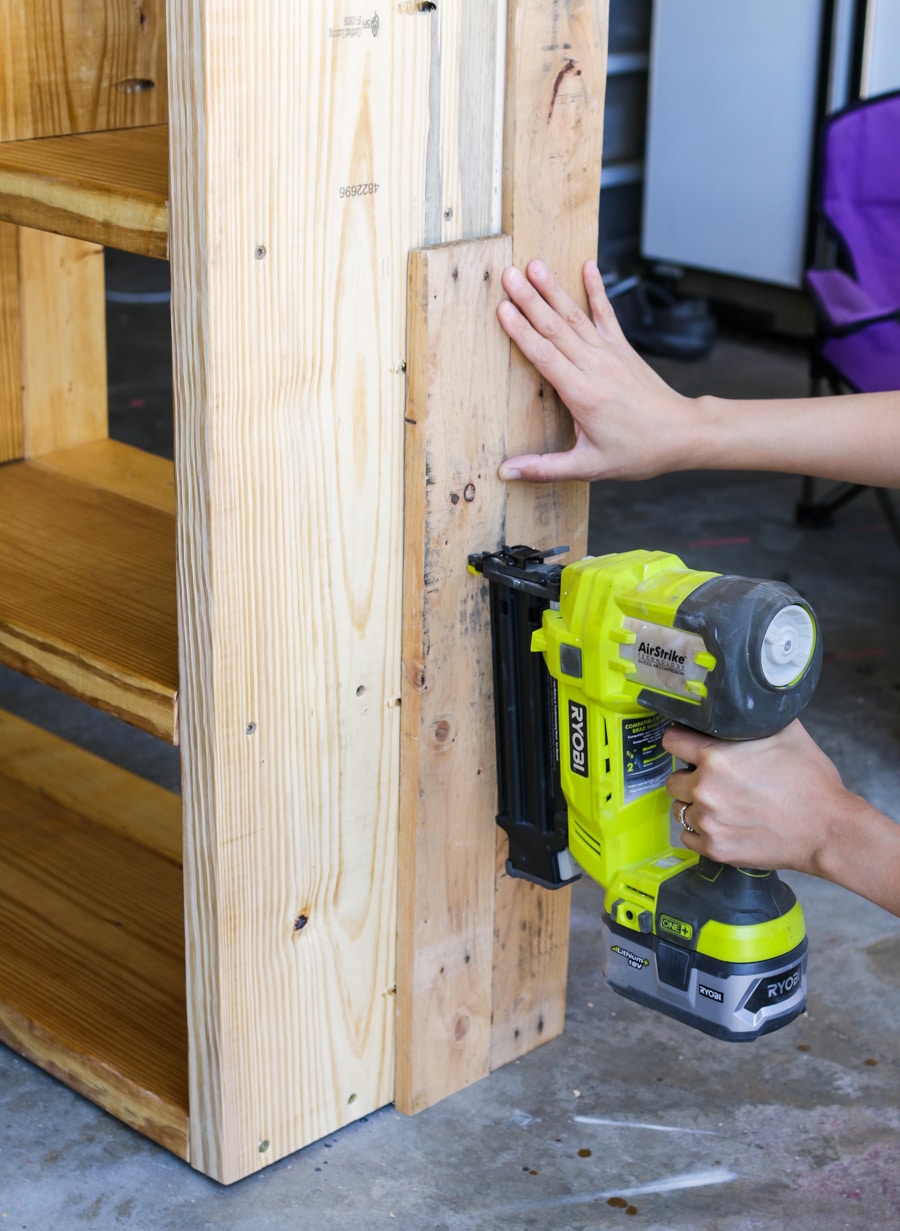
I used wood glue and my cordless brad nailer to attach the pallet wood to the bookshelf. I cut and ripped the pallet wood at random lengths and staggered the boards.
![How to build a DIY pallet bookshelf]()
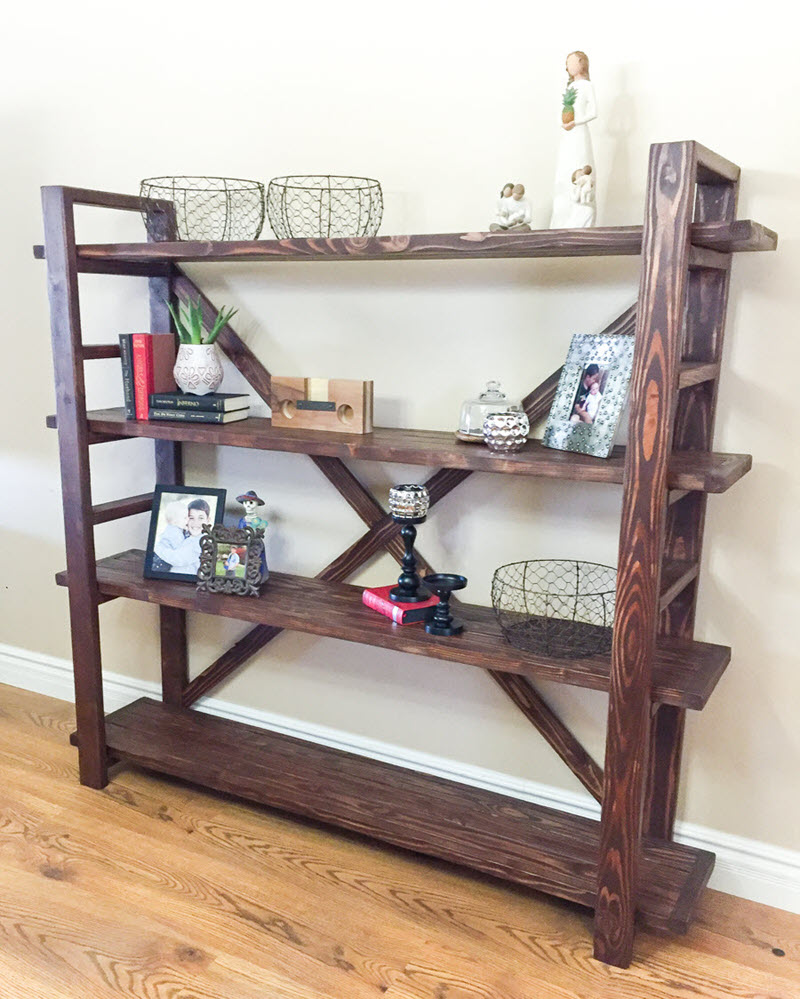
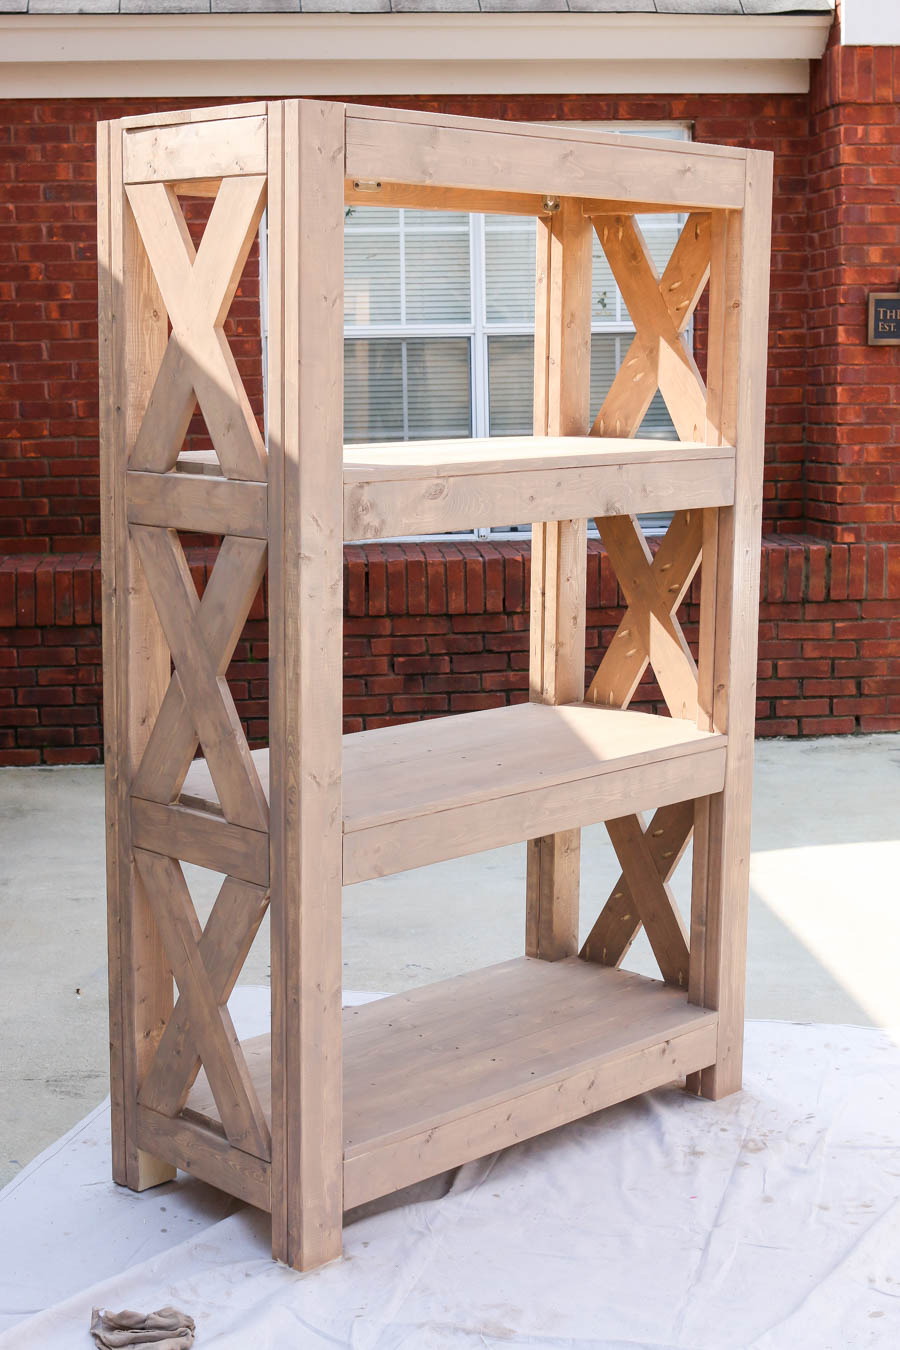
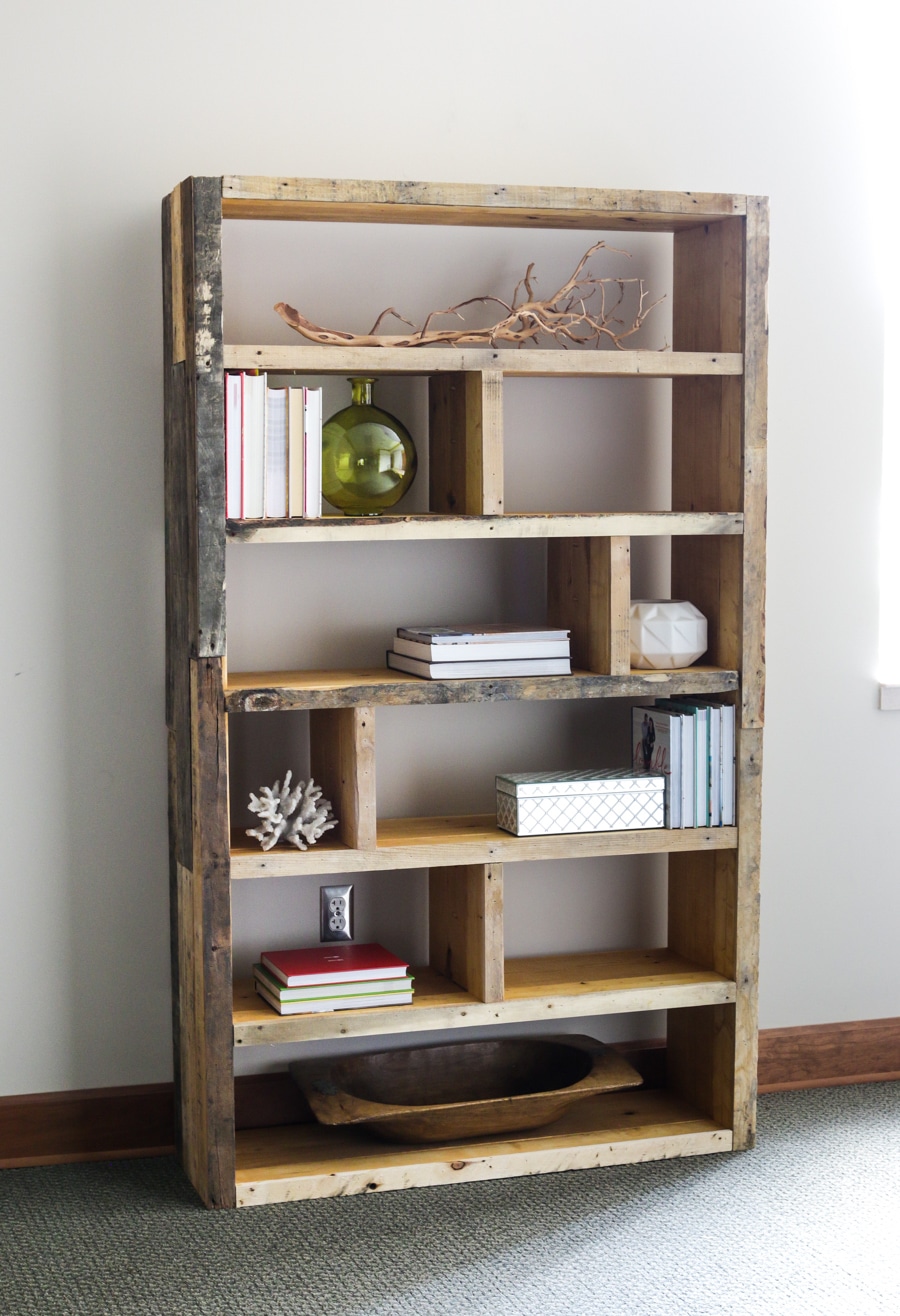
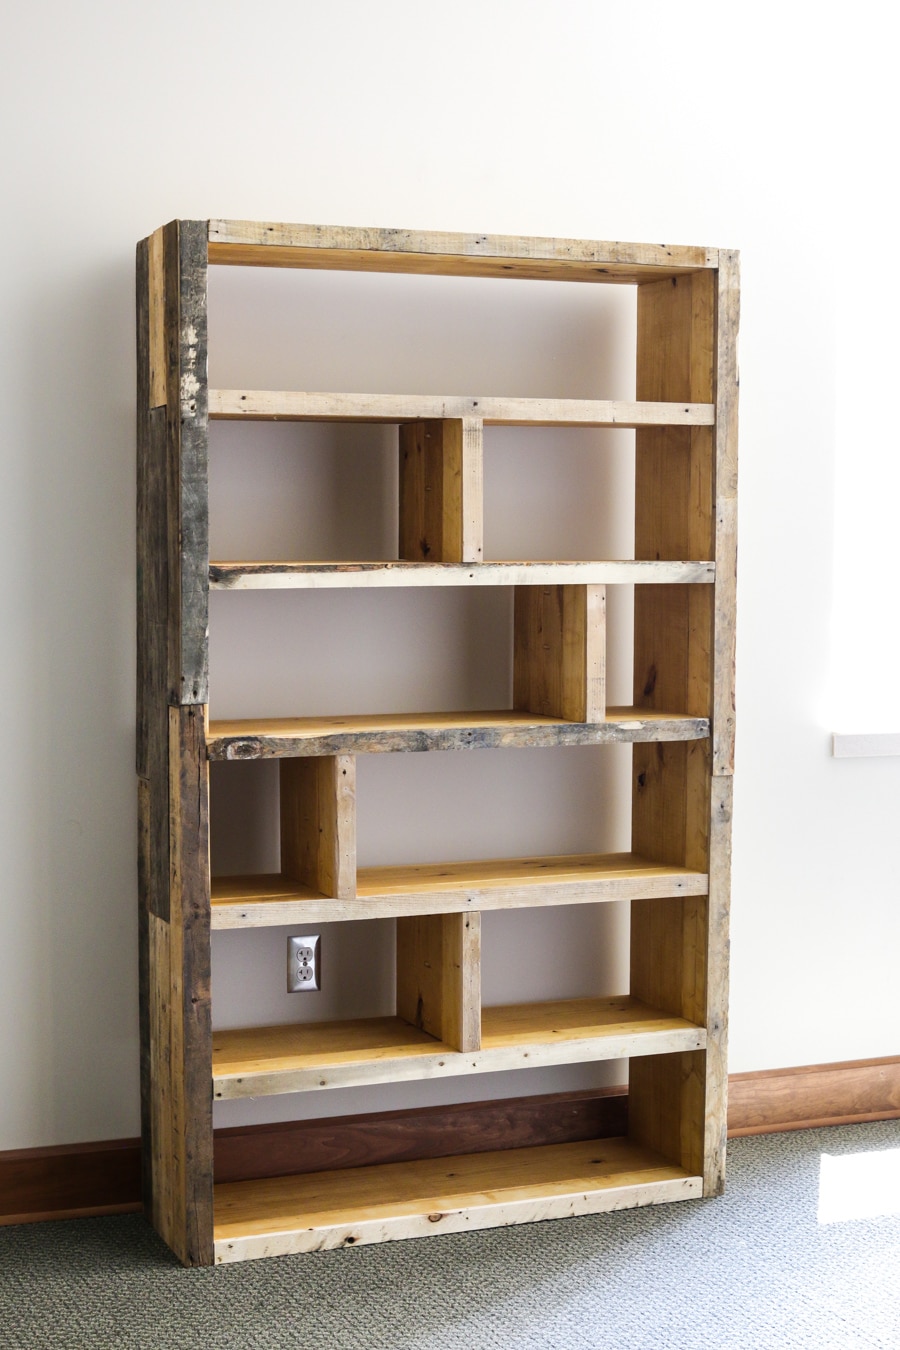
Here’s the completed bookshelf:
![How to build a DIY pallet bookshelf]()
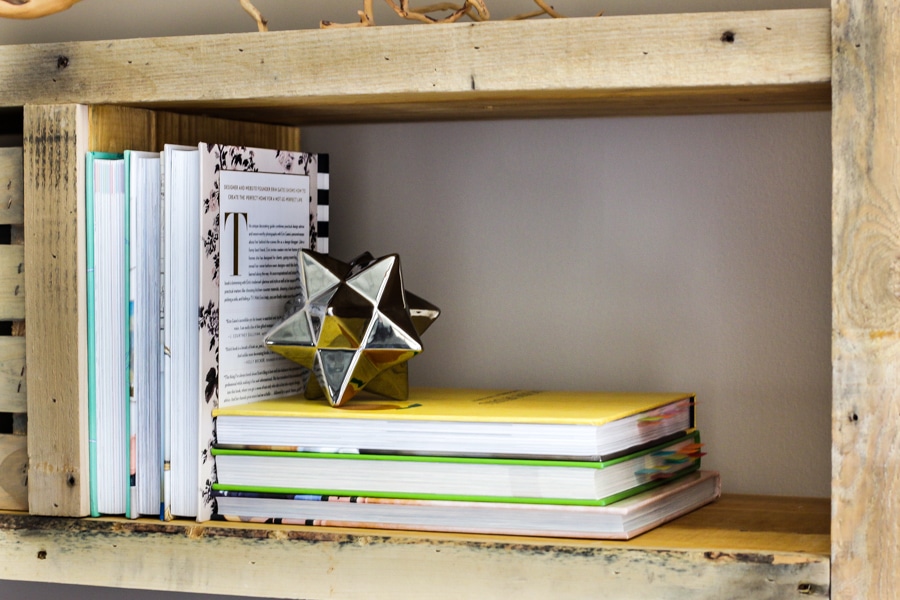
And now it’s time to decorate! My second favorite thing next to building.
![How to build a DIY rustic bookshelf with reclaimed pallets and crates]()
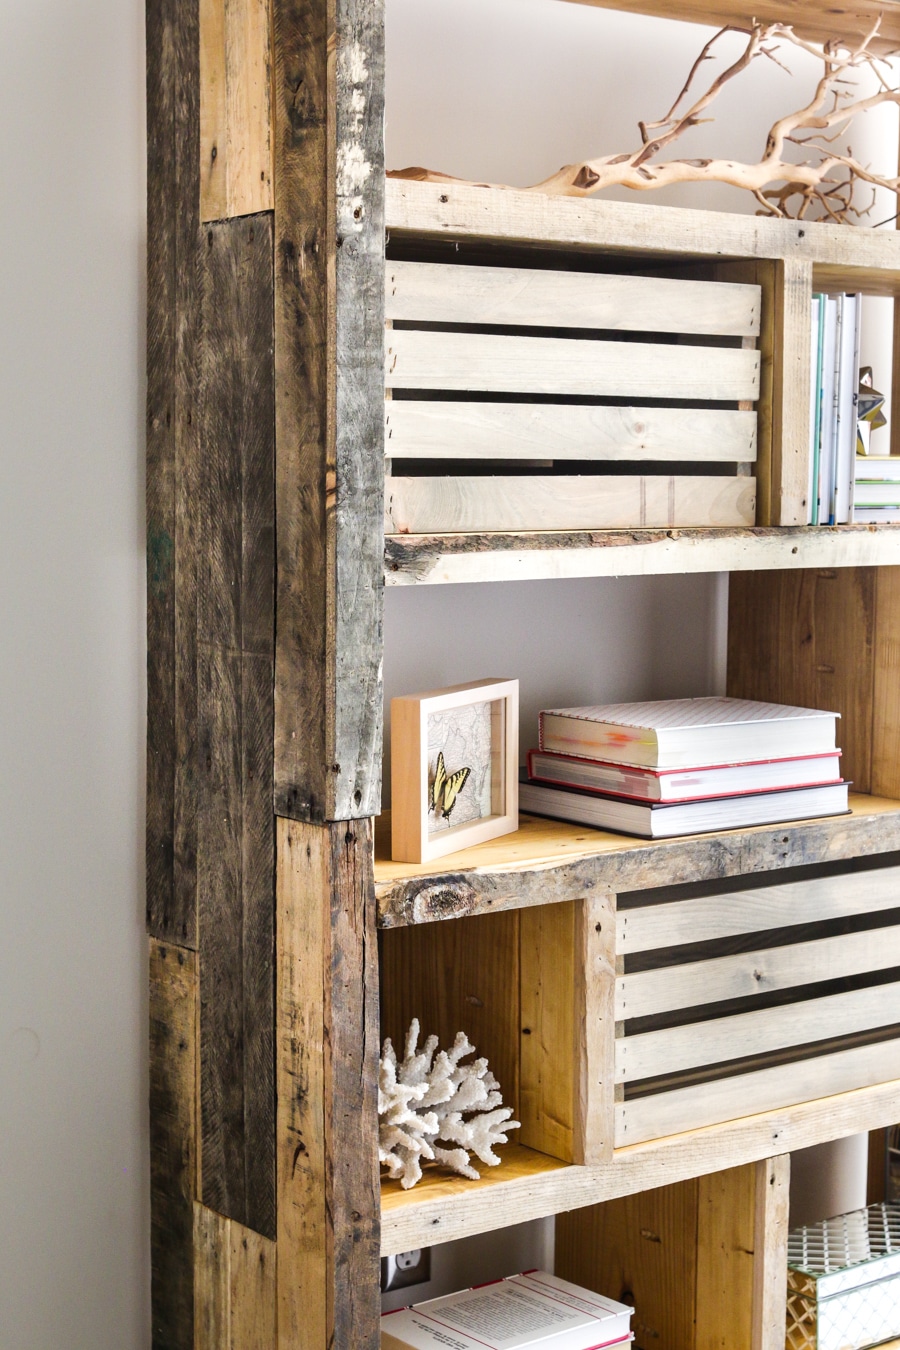
For the face frame, I simply cut and ripped pallet boards to size, then glued and nailed them on.
![How to build a DIY crate pallet bookshelf]()
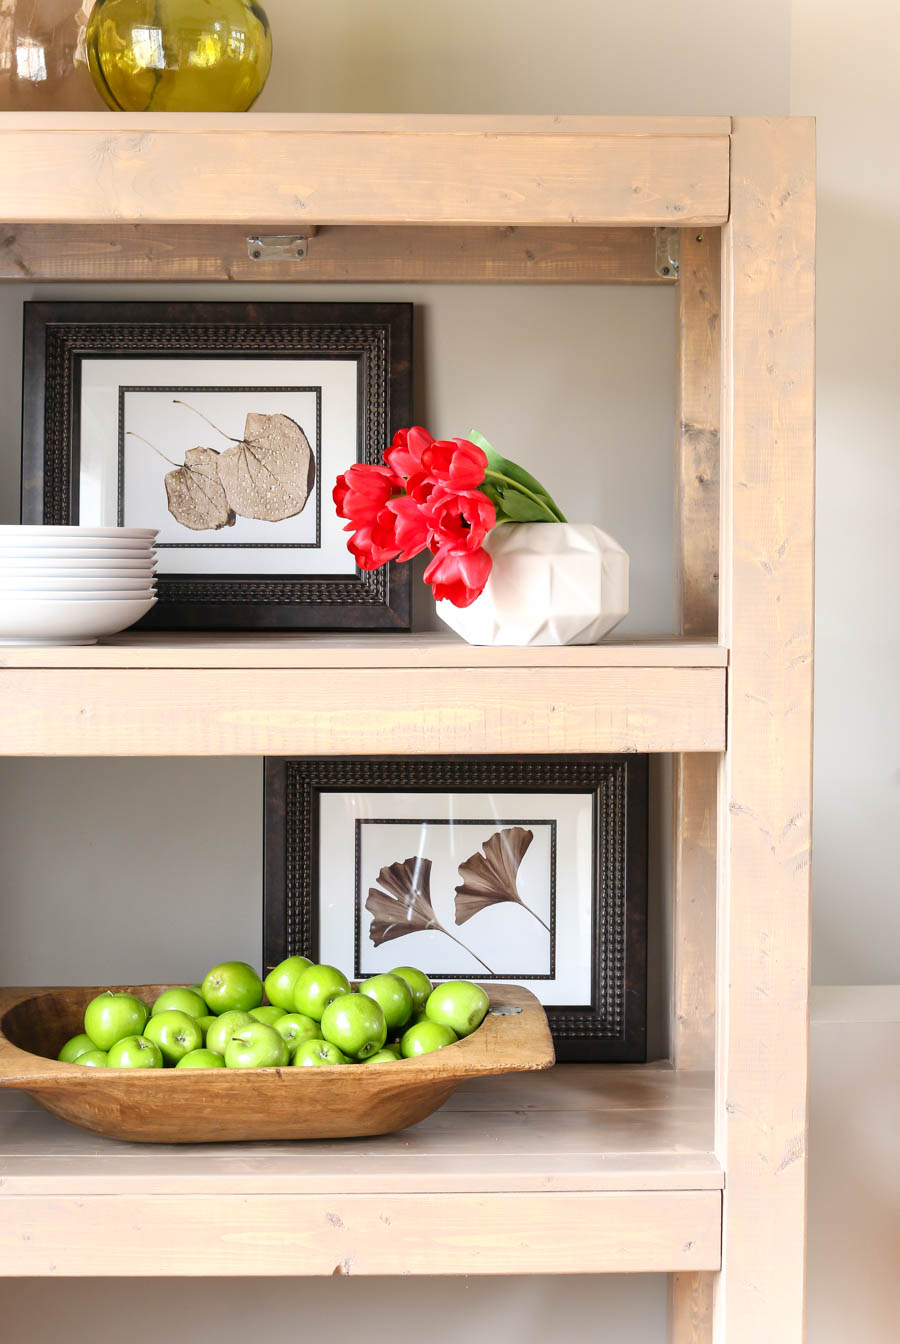
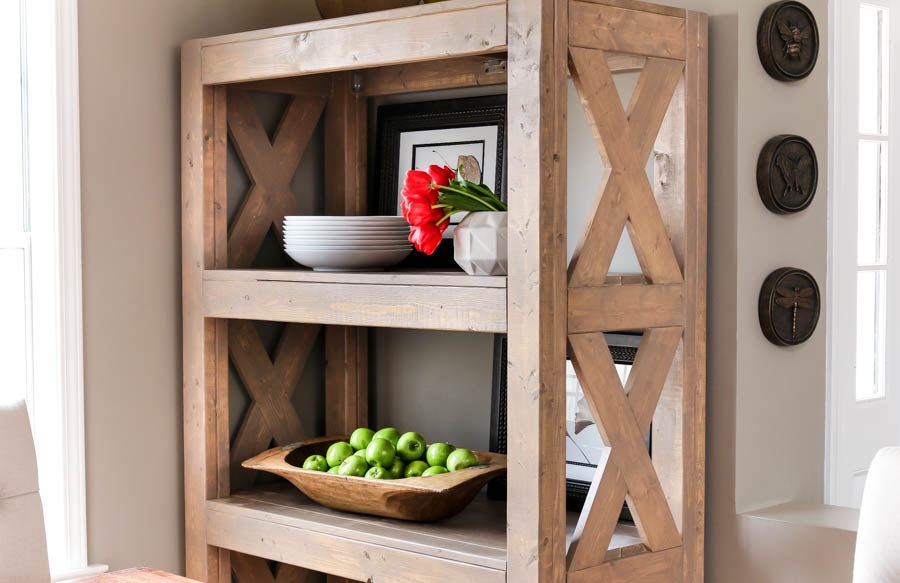
I love how much texture and interest this bookshelf adds to a space. Look at that pretty pallet wood. And I don’t have to worry about questionably toxic chemicals or critters in the reclaimed wood because the pallets are heat-treated and sterilized.
PSA: You guys. Stop digging pallets out of the dumpster – you don’t know where that stuff has been! I cringe at all the pallet wood projects on Pinterest where the builder doesn’t take necessary precautions. People are all, “hey, I’m going to build my dining table out of all this free pallet wood I found on the curb!” Then they take that stuff into their homes and eat off of it. Or worse, they build their baby’s crib out of it. Ew.
For the love of all that’s holy…
Please.
DON’T.
![How to build a pallet bookshelf]()
Sorry, that sounded a bit self-righteous, right? Look, I’m all for “liberty and justice for all” and I’m certainly not trying to tell you how to live your life – I just thought it was worth mentioning. I mean, more power to you if you want your kid to grow an extra eyeball from chewing on your radioactive baby death trap. To each his own.
*steps off soapbox (which I built out of reclaimed pallet parts).
![Pallet Bookshelf with Crates]()
Oh, and here’s a small tip: when building the ‘skeleton’, make sure the pocket holes are facing toward the outside because the pallet wood will cover them up. Also, countersink your screw heads so that the pallet boards will sit flush to the surface.
![How to build a rustic bookshelf with reclaimed pallet wood and crates]()
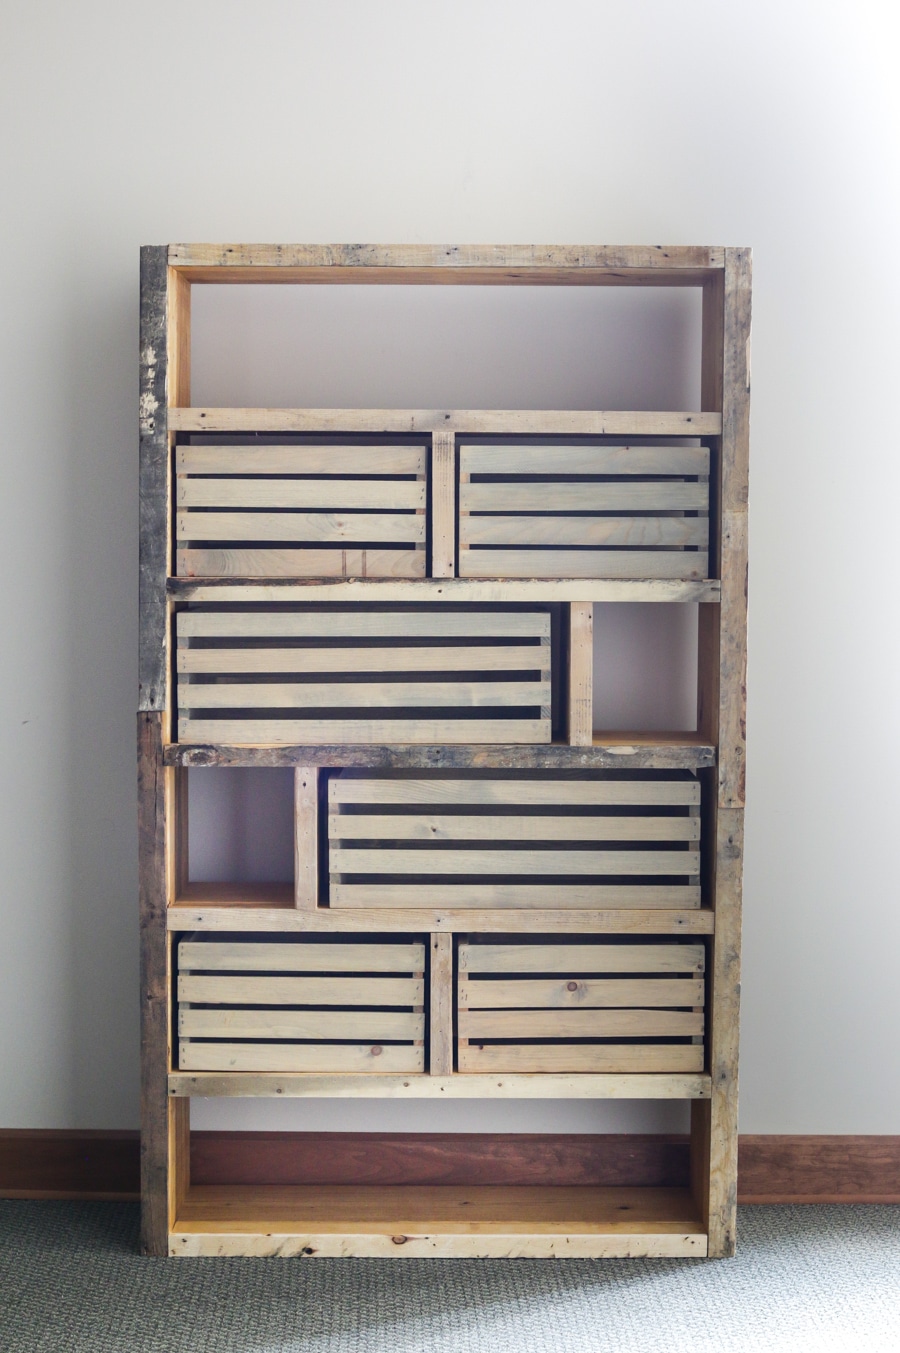
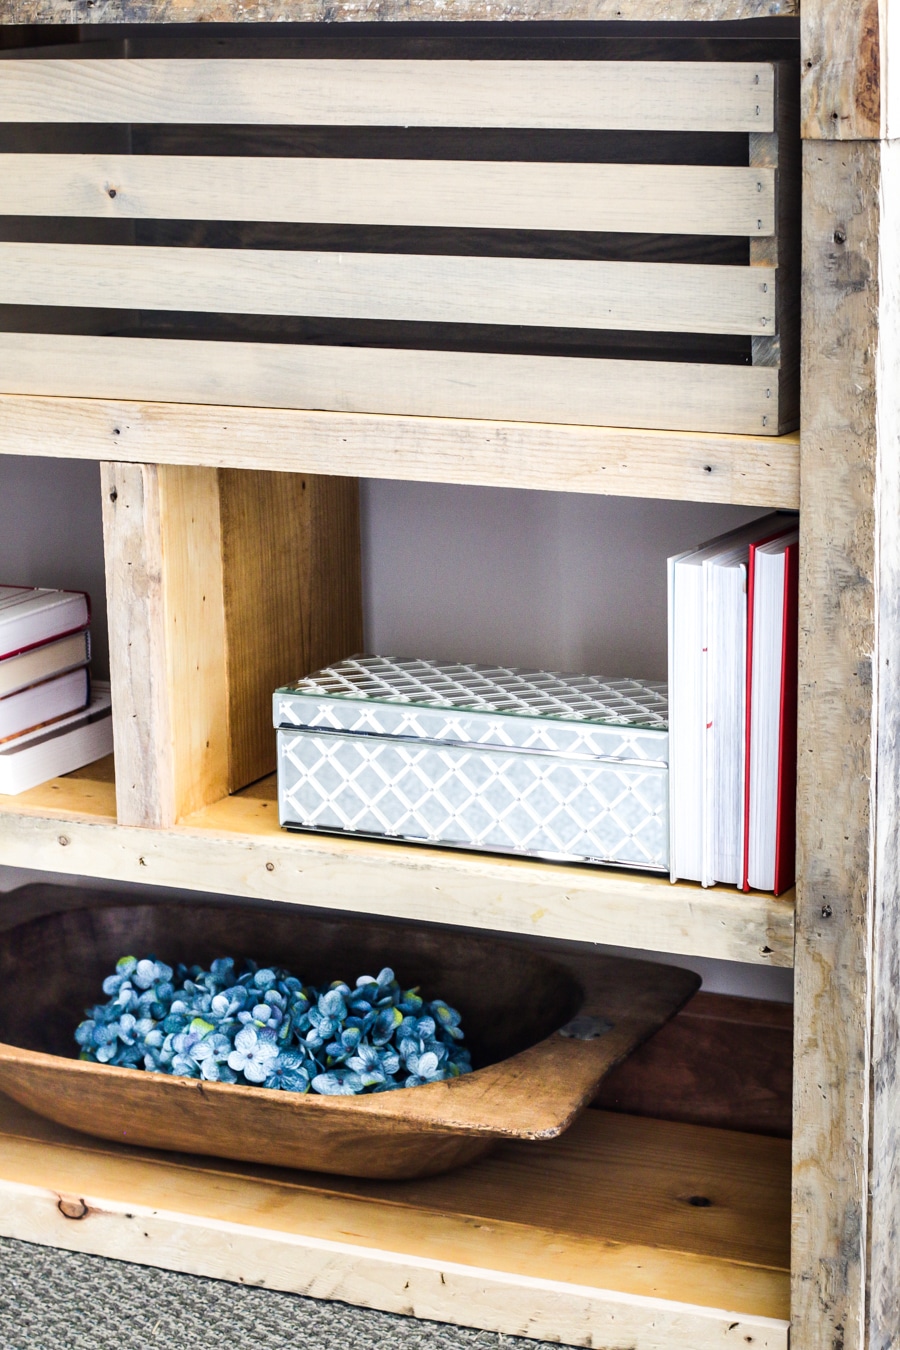
I love how versatile this bookshelf is – even though the shelves and dividers are fixed, you can choose to use the crates or not and get a whole different look by doing so.
![DIY Crates and Pallet Bookshelf]()
What do you think? Want to build one for your own home?
Be sure to download the PDF plans.
Thanks for reading, friends! Good luck and happy building!
![Bookshelf with crates and pallets]()
Don’t forget to PIN IT for later!
![Build this beautiful and rustic bookshelf with reclaimed pallet wood and crates. Free building plans by Jen Woodhouse]()
*This post contains affiliate links. To read my full disclosure policy, please click here. A huge THANK YOU! goes to Crates & Pallet for sponsoring this post. All efforts, opinions, and adorable photo-bombers are my own.
The post DIY Crates and Pallet Bookshelf appeared first on The House of Wood.
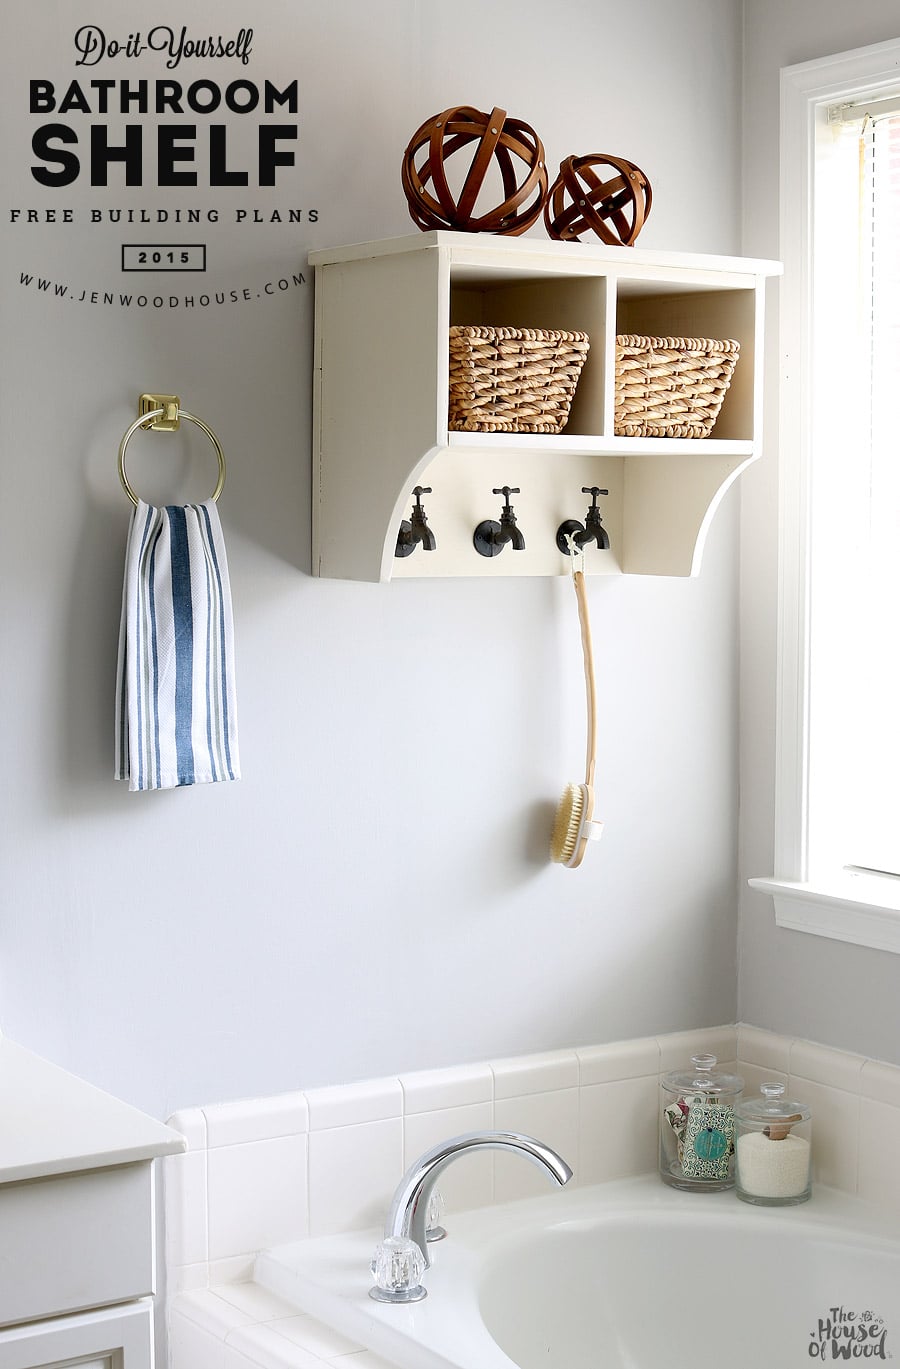 The blank wall space above our garden tub was in desperate need of… something.
 The shelf is built out of solid pine and I found these cute vintage-looking faucets on Amazon to serve as towel hooks. Aren’t they cute? They add the perfect whimsical (and theme-appropriate) touch to the whole project. This shelf would also work well in a laundry room or you can switch out the faucet hooks for some standard coat hooks and boom. You’ve got a shelf for your foyer or mudroom. This shelf is like the Renaissance Man of storage and organization.
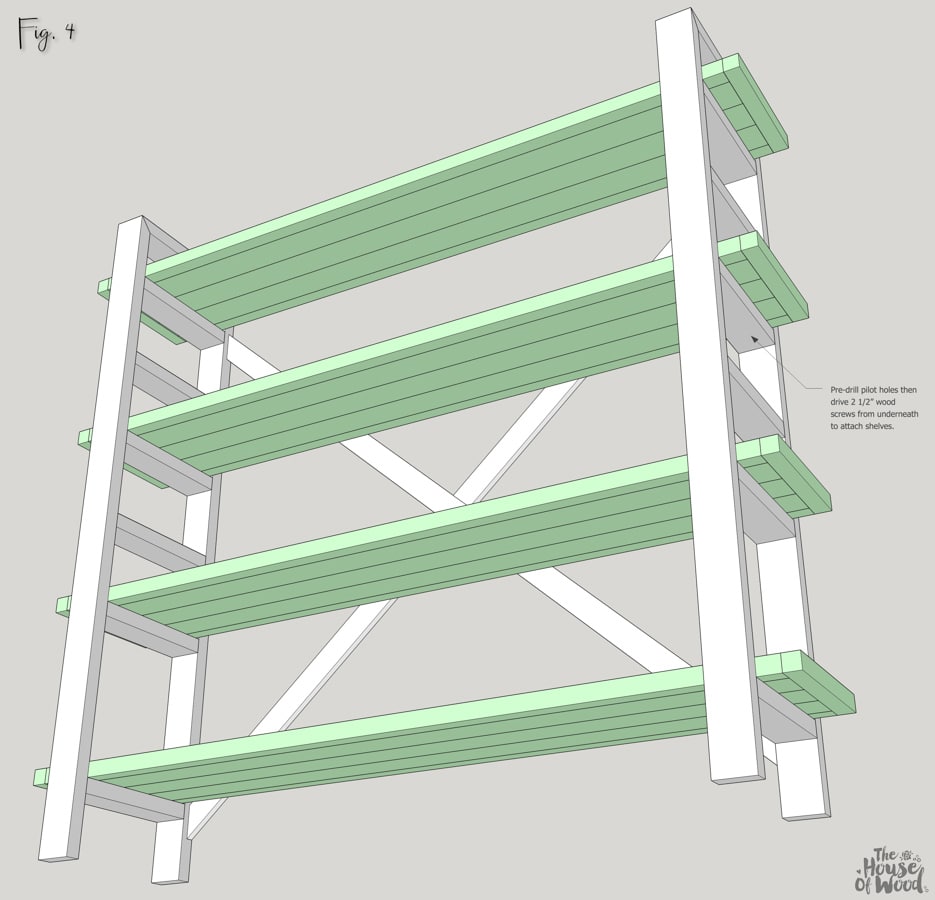
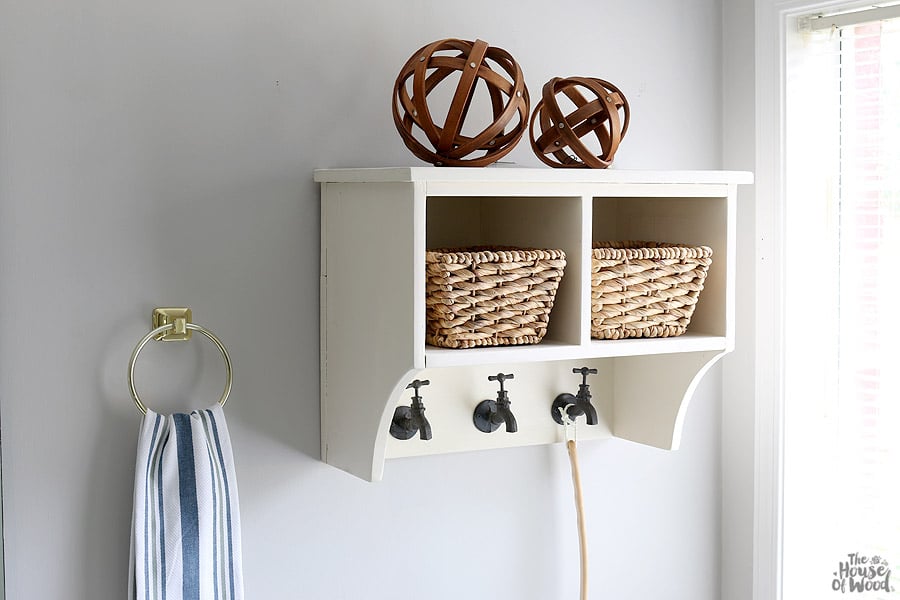 After I finished building the shelf, I filled all the pocket holes with paintable wood filler and sanded the whole thing with 150-, 220-, and 320-grit sandpaper. Then I spray-painted it with Rust-Oleum’s Painter’s Touch spray paint in Heirloom White. It’s one of my favorite white paints because it’s on the warmer side – it’s a creamy, soft white, not cold and stark like some whites tend to be. After the paint dried, I attached the faucet hooks then hung the shelf on the wall. I recommend driving 2-1/2″ wood screws straight through the back of the shelf into the studs in the wall for maximum strength.


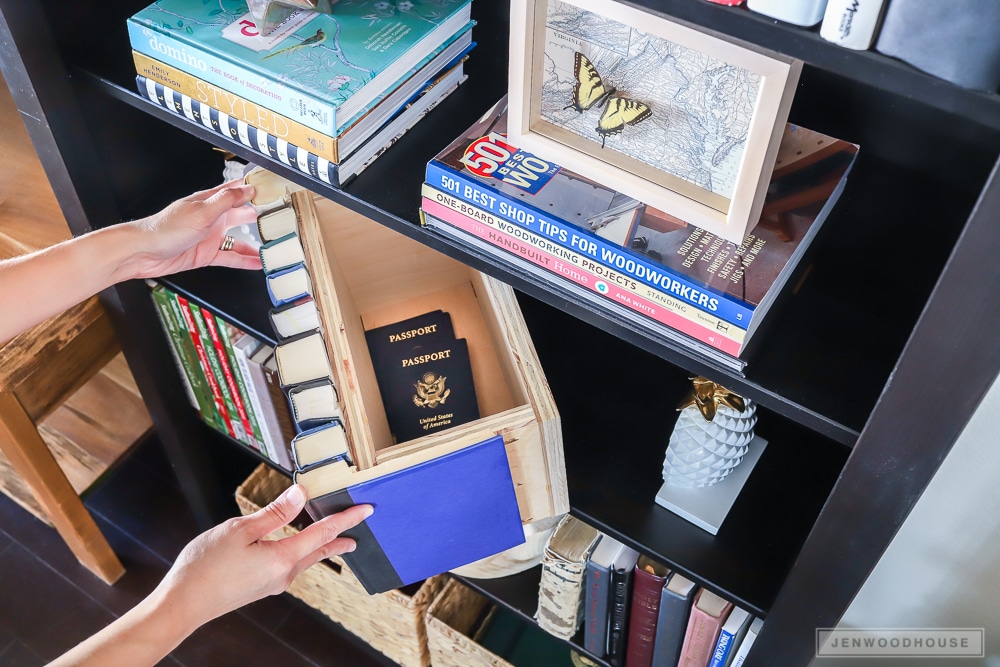
 Can you tell which shelf my little secret storage box is on? Let’s take a closer look…
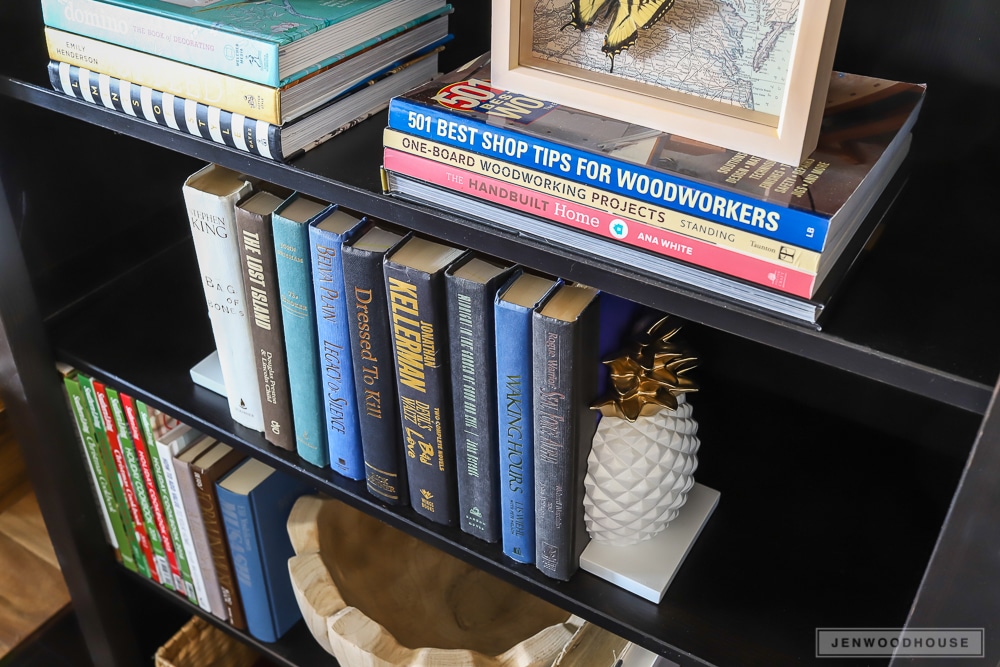


 Before you start cutting, drill pilot holes into the sections you’ll be cutting out in the middle of the design.
 Begin cutting on the scroll saw, starting with the inner cuts then working your way out. This is a pretty simple pattern for a beginner. (I am definitely an amateur scroller!) Cut out all 4 pieces. You will use two on each bookend.
 Once your curved pieces are cut, lay one onto the rest of your board and trace a line imitating the outer shape. This will become the center piece. In this photo, I traced the bottom edge of the center piece about 1/4″ wider than the curved piece, leaving a right angle on the back side which will attach to the base (if that is confusing, scroll down to assembly instructions.) Cut this shape with the scroll saw twice.


 *Pro Tip: you will be gluing all of the pieces together with wood glue. Some people tend to think the stain will interfere with the adhesion, but I haven’t found that to be a problem. This is not a piece that will hold weight. However, if you are concerned with that, you can choose not to stain the areas you will be gluing. I didn’t find it worth the extra thought and effort in this case.
 Clamp these pieces together and let the glue dry for at least 30 minutes. Do this for both bookends.
 Next, glue up the base. Make sure it is at a right angle and simply glue a long and short piece together. Clamp and let that glue dry for 30 minutes as well.
 Finally, glue the curved pieces to the bases. This should be simple – just make sure you center them into the base. Clamp and let dry for 30 minutes.


 I hope you liked this DIY Decorative Wooden Bookends tutorial! Let me know what you think in the comments. This is a great project for anyone who has access to a scroll saw – beginner or pro! Thanks for reading! If you make them, be sure to share photos with us.
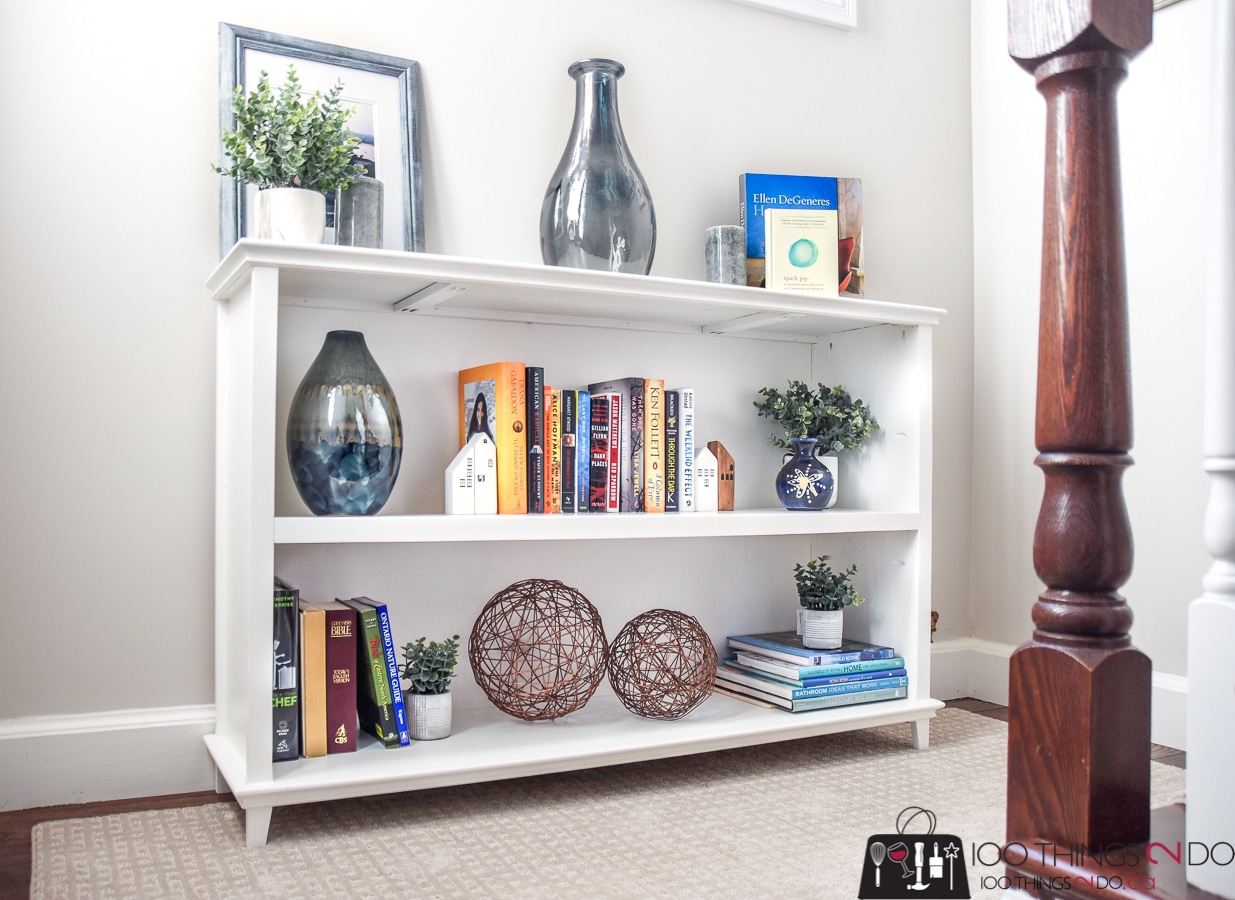 Are you ready to build your own DIY Low Bookcase? We’ve got you covered with free plans below! Be sure to stop by